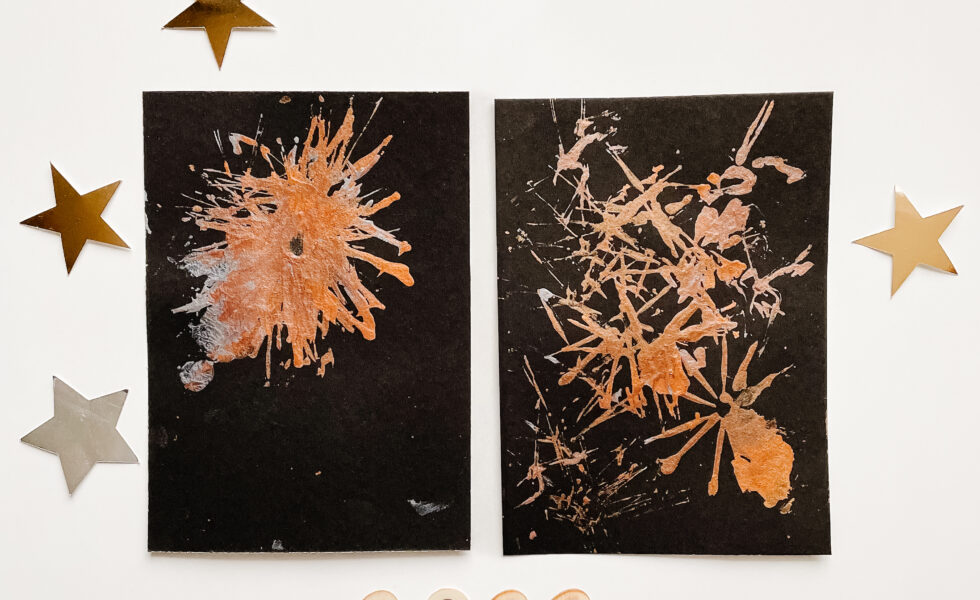
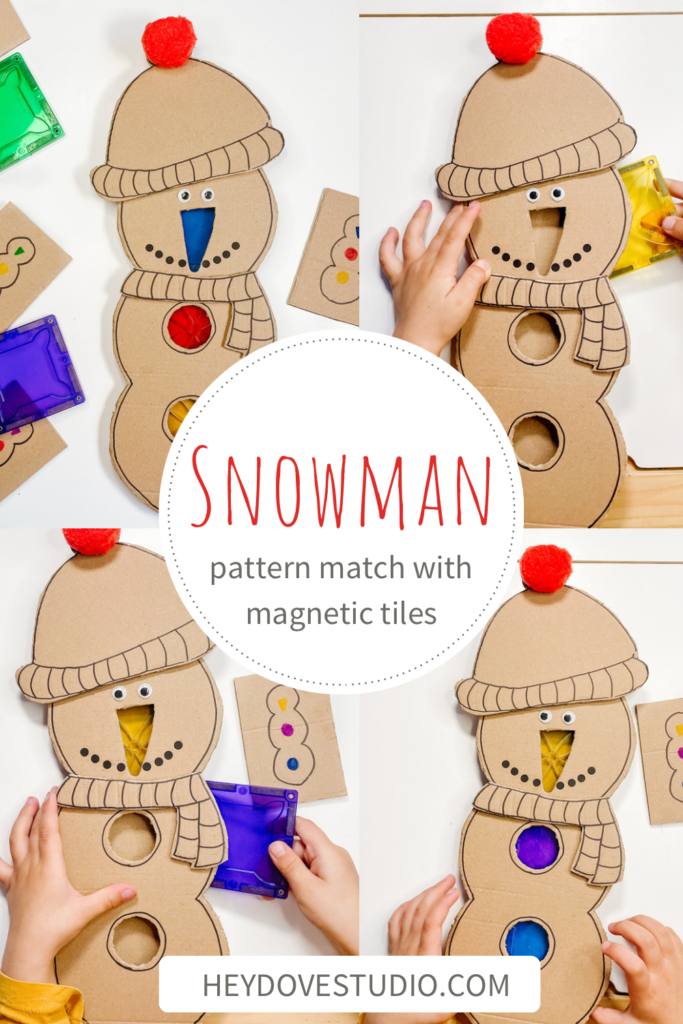
Try this snowman pattern activity using magnetic tiles.
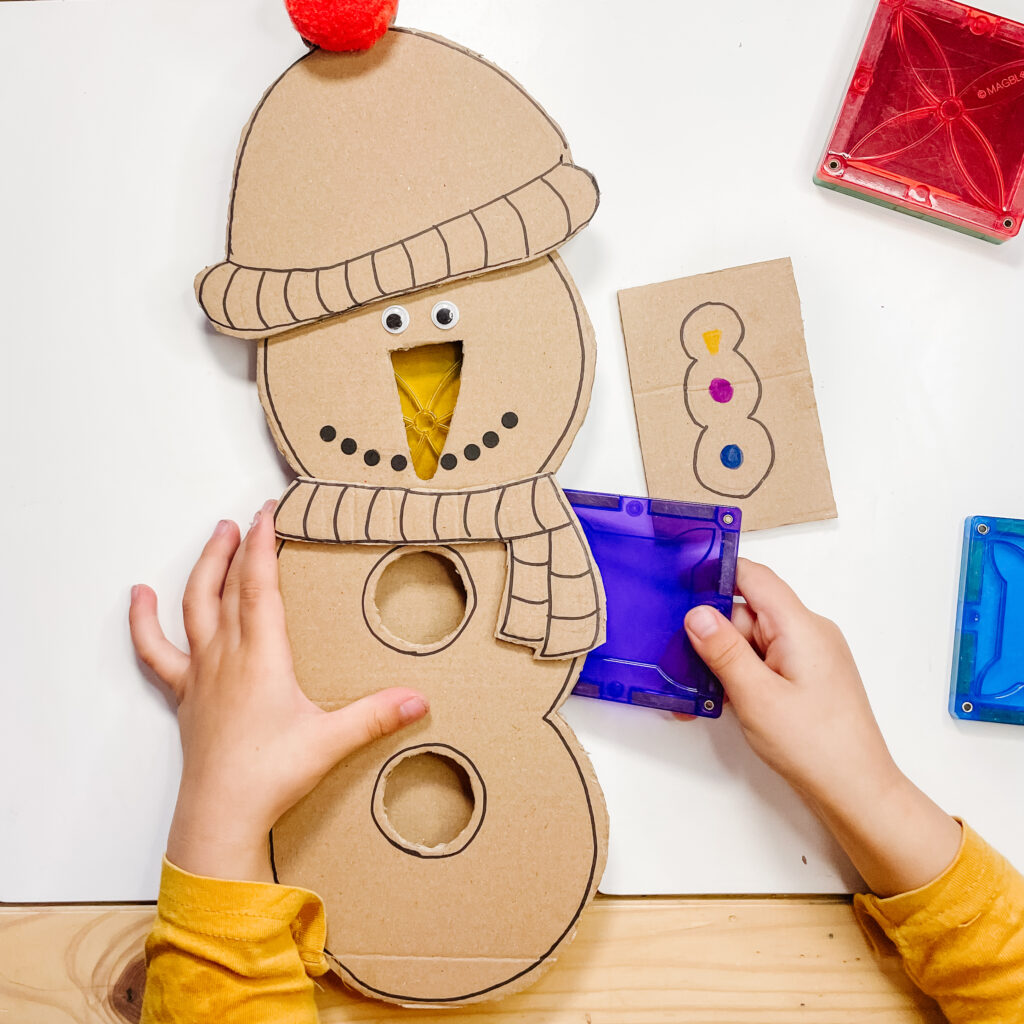
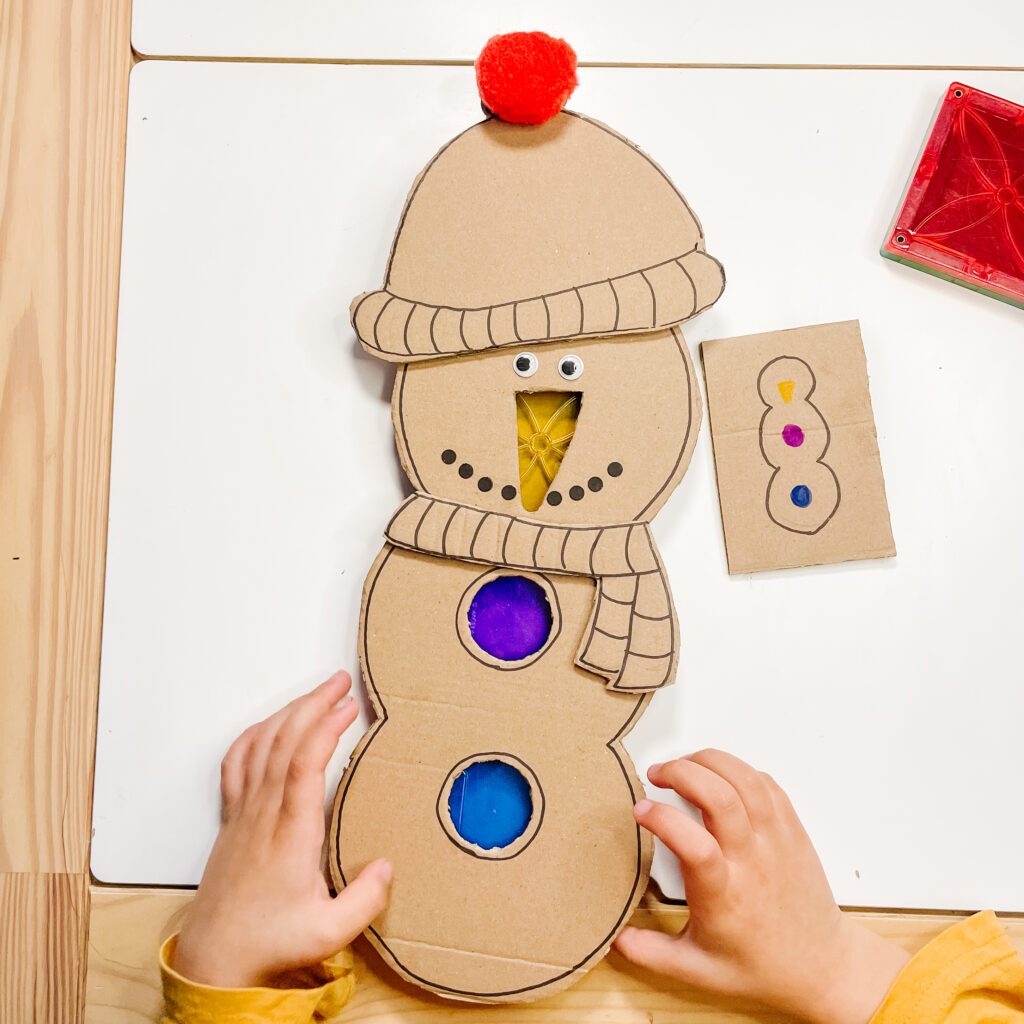
Engage your kids in this delightful snowman pattern activity using magnetic tiles. Follow the given patterns and skillfully place the matching magnetic tiles onto the snowman’s nose and buttons. Explore various patterns that not only add excitement but also promote cognitive development. This exploration allows kids to grasp different concepts while enjoying the festive and educational aspects of the magnetic tile snowman activity.
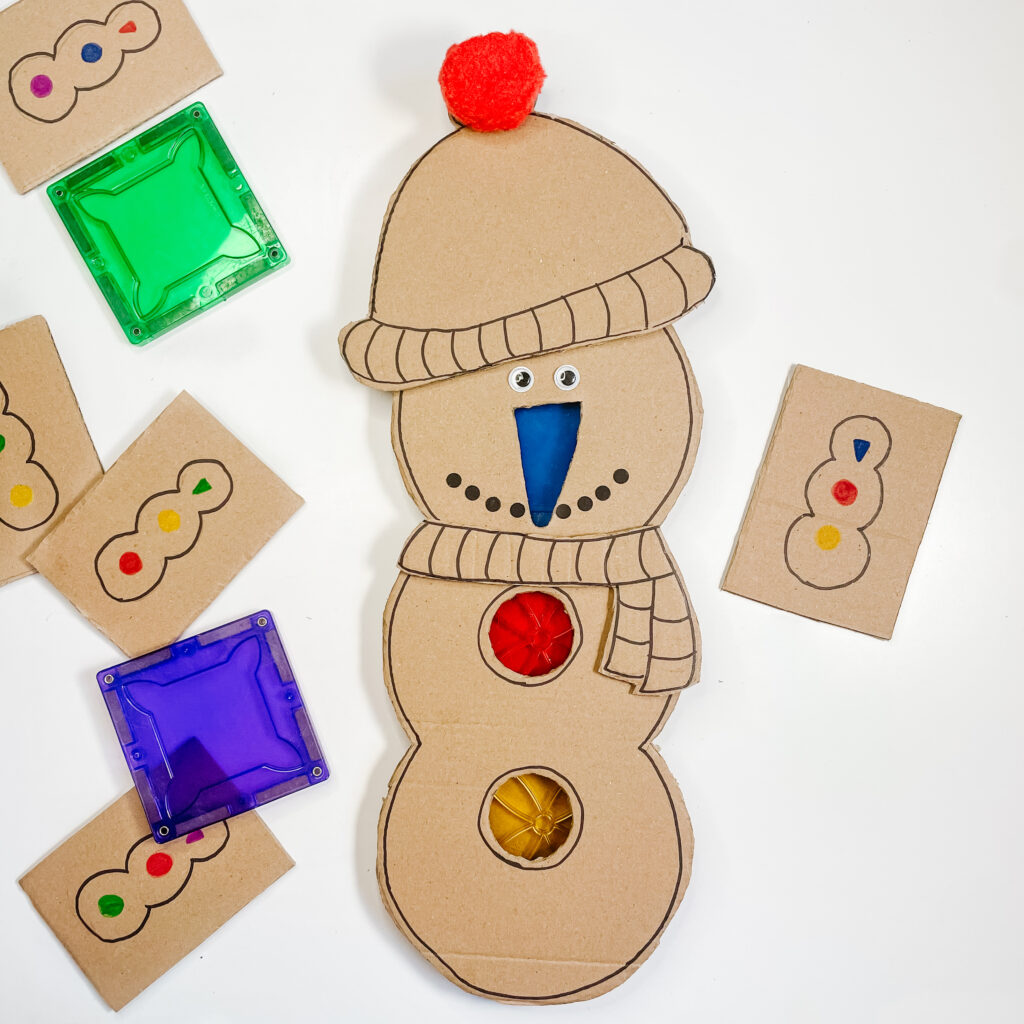
How to create a snowman pattern match activity:
Materials needed:
- Recycled cardboard
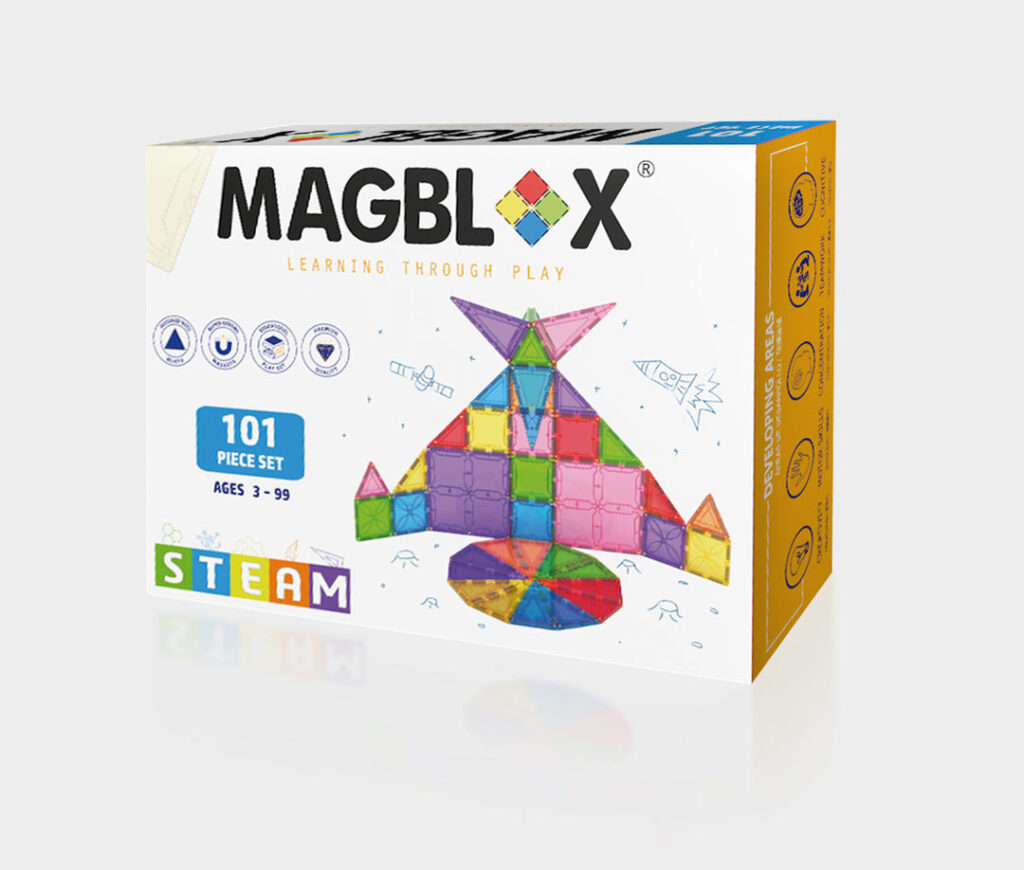
- Magnetic tiles
- Cutter
- Black marker
- Black paper
- All-purpose glue
- Glue gun and stick
- Colored pencils
- Googly eyes
- Large pompom
- Pencil
- Eraser
Instructions:
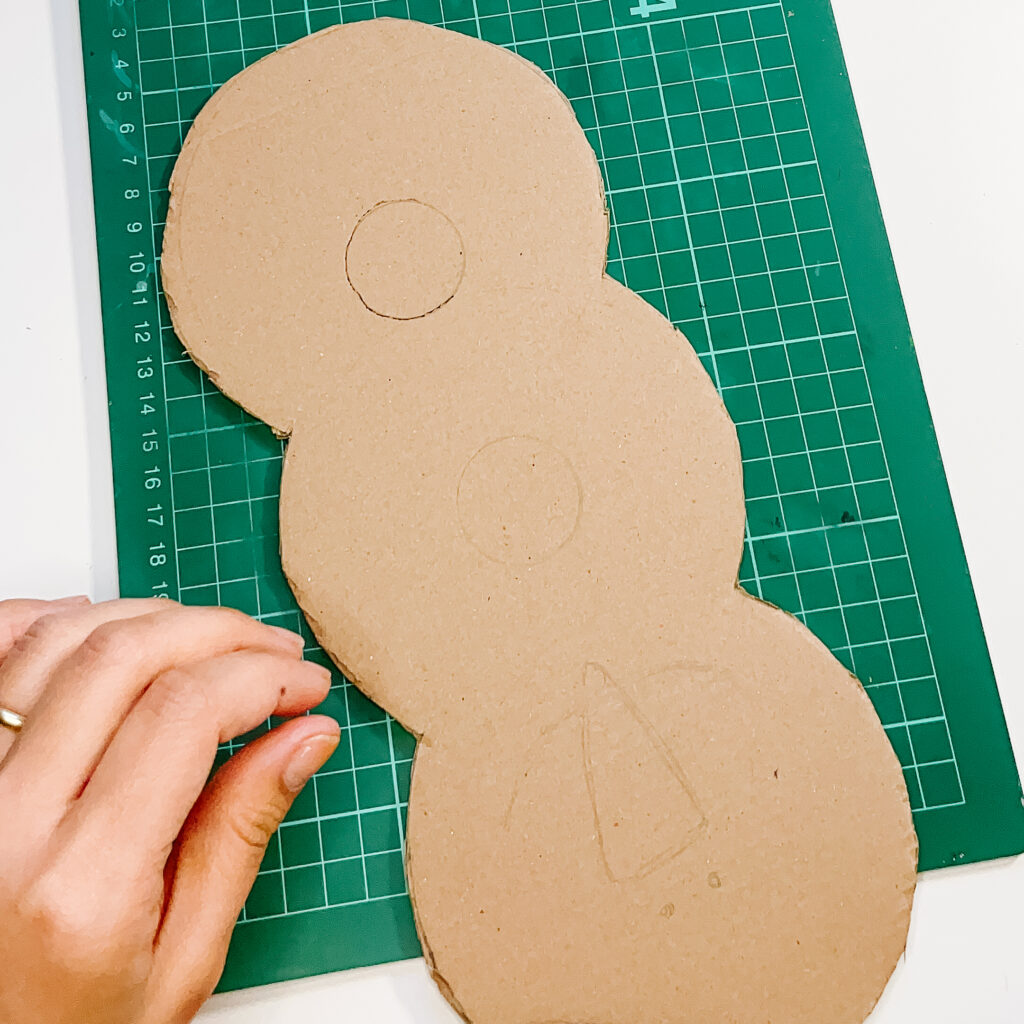
- Draw and cut out 2 snowman shapes from the cardboard.
- Measure the cardboard snowman, ensuring that three magnetic tiles can fit on it.
- For the first cardboard snowman, draw and cut two holes and a triangular shape for the nose, ensuring clear visibility of the magnetic tiles in the holes.
- Draw an outline to the front of the first snowman.
- Cut strips of cardboard, matching the height of the magnetic tile.
- Glue the cardboard strips to the front of the second cardboard snowman.
- Create a hat and scarf from separate pieces of cardboard.
- Decorate the hat with a large pom-pom.
- Using a hole puncher, cut out small circles from the black paper.
- Attach the small black circles to the mouth of the cardboard snowman.
- Attach the googly eyes.
- Glue the first and second cardboard snowman together using hot glue.
How to play:
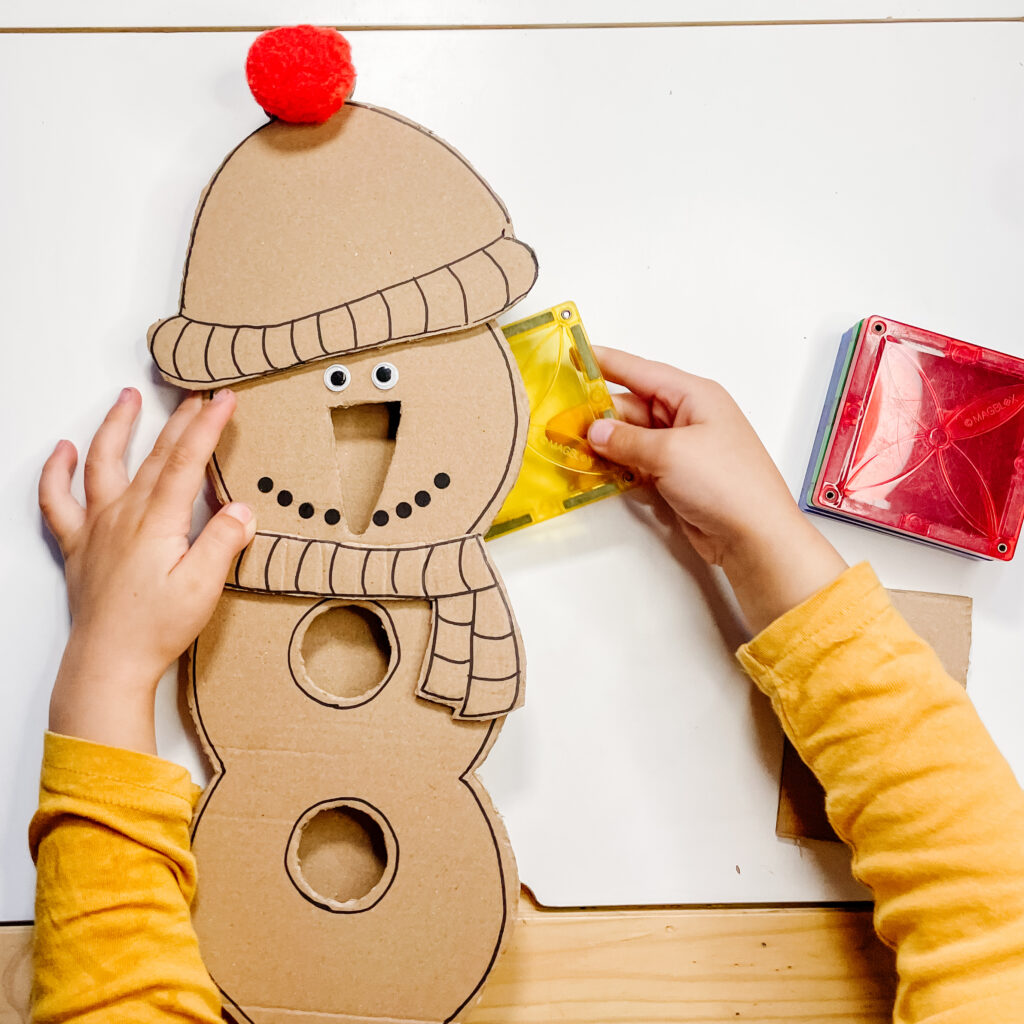
- Allow kids to follow the pattern and place the correct magnetic tiles inside the cardboard snowman.

PIN ME FOR LATER



Leave a Comment