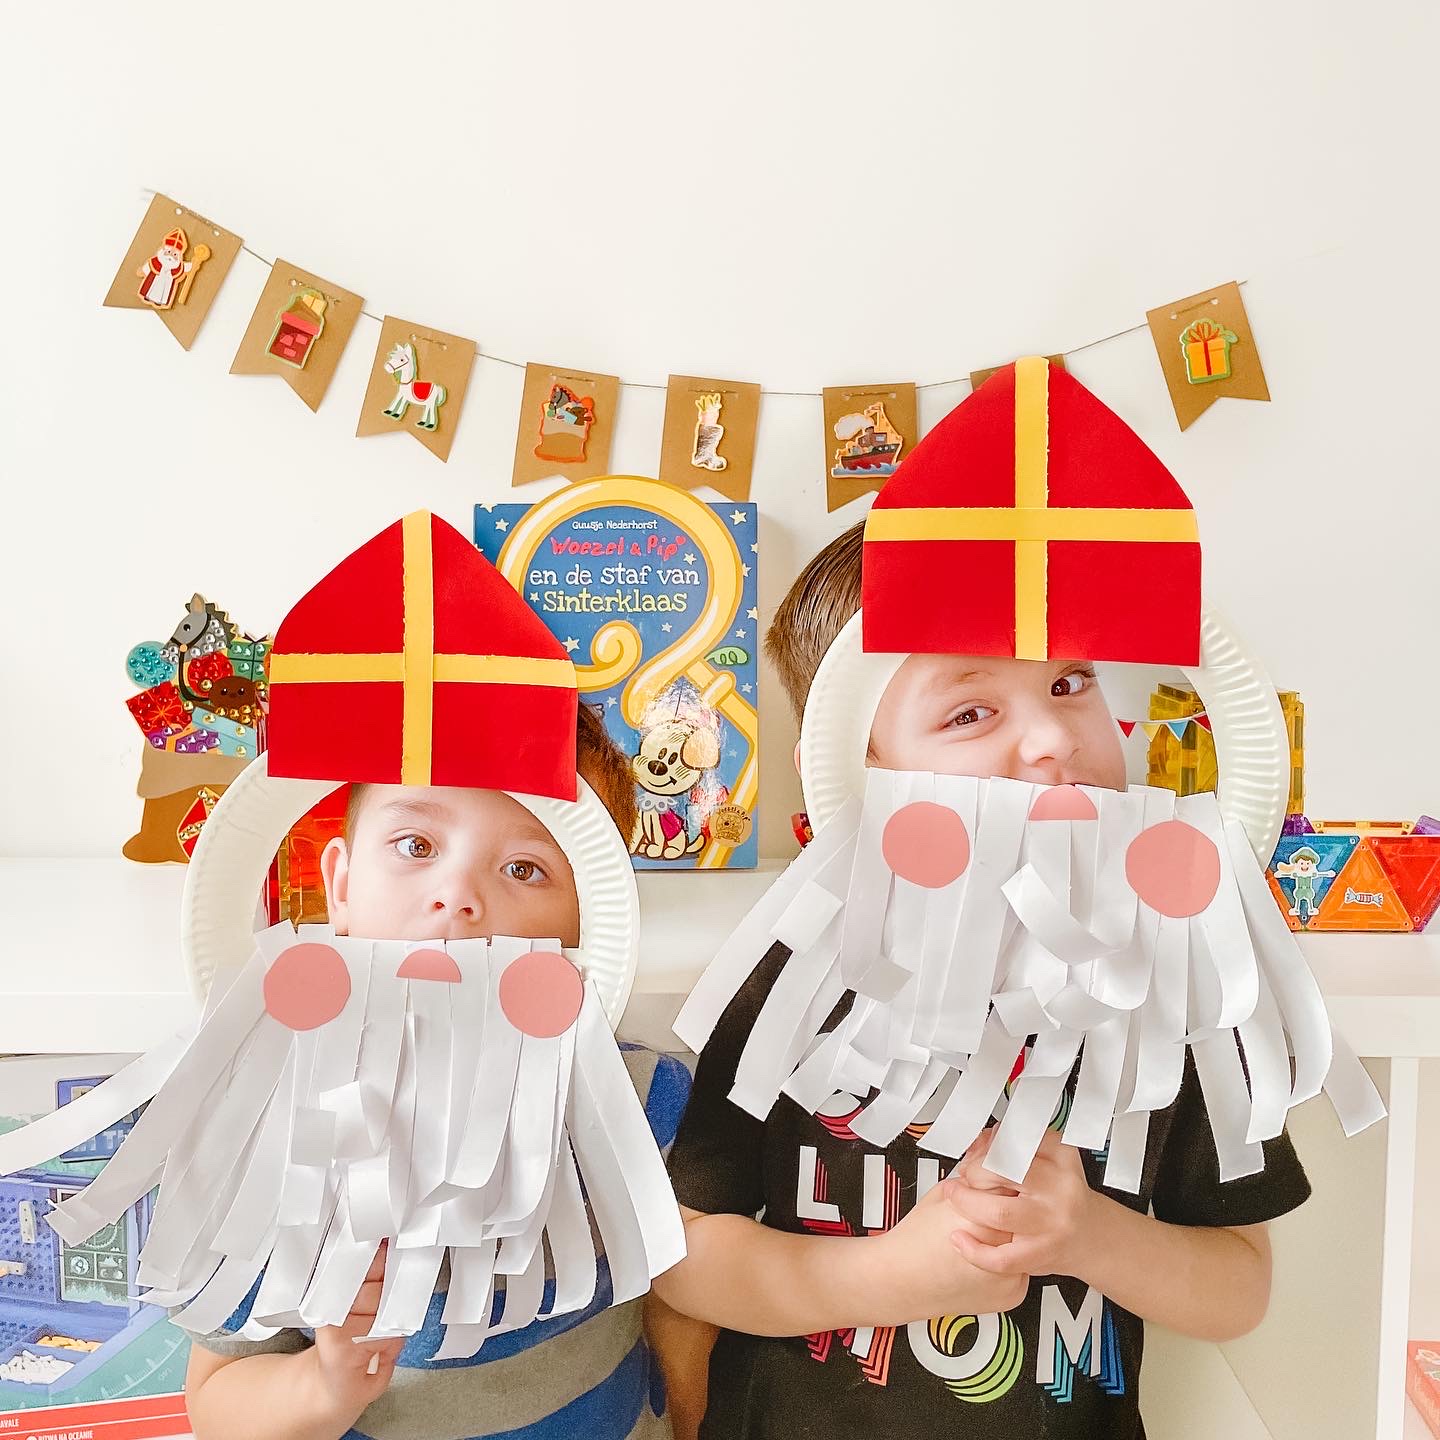
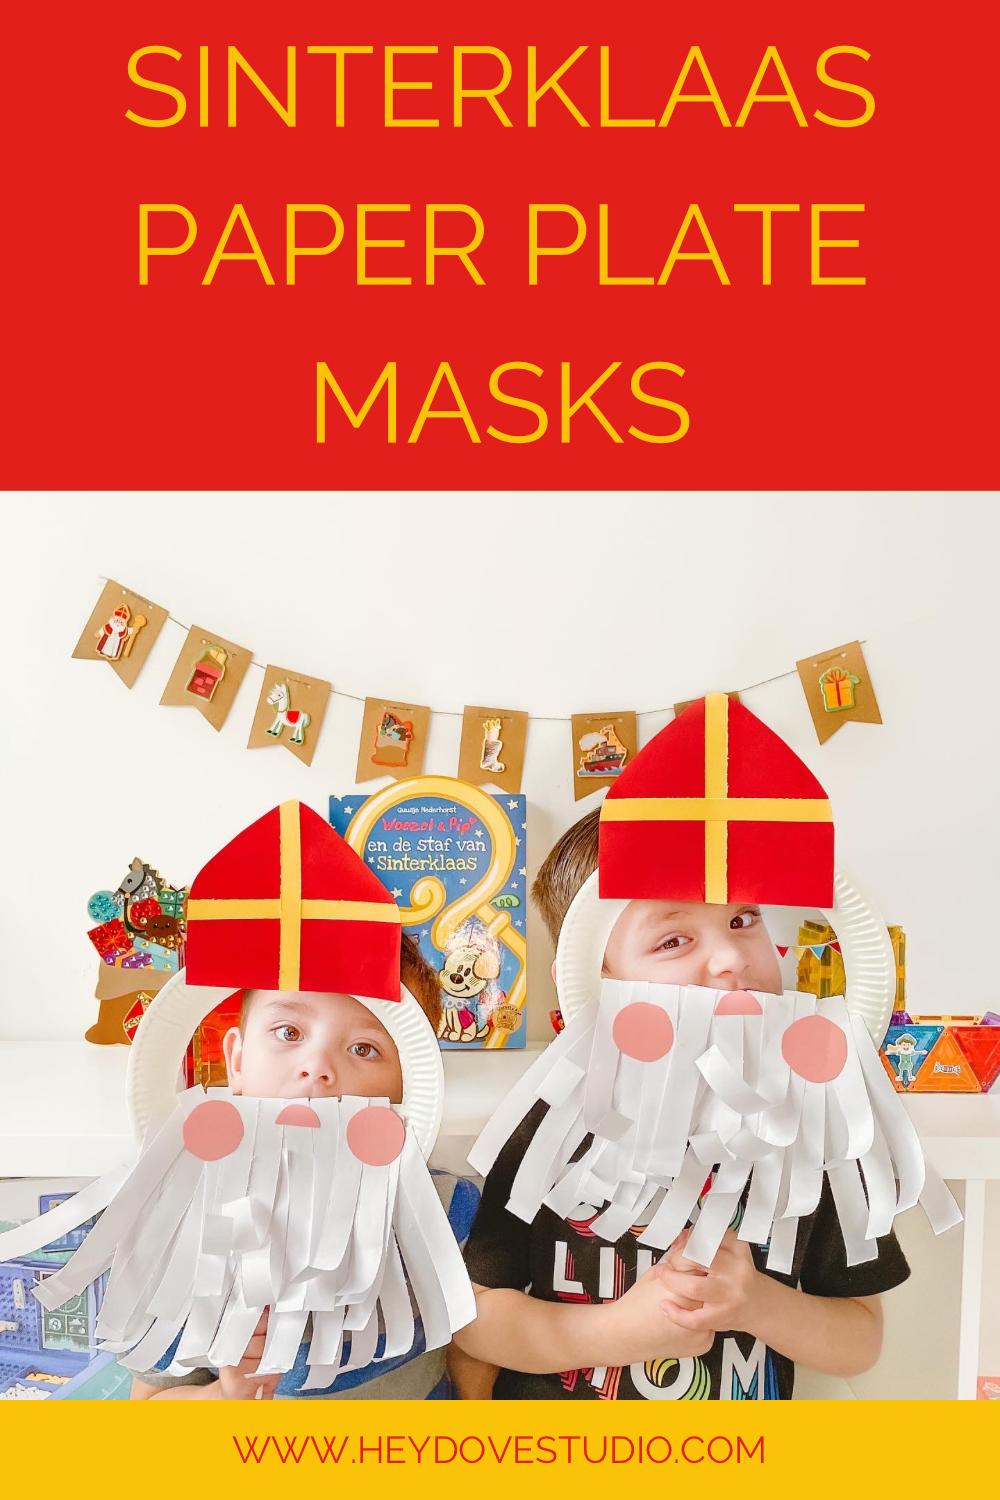
Embrace the arrival of Sinterklaas by creating these delightful paper plate masks with your kids.
Crafting Sinterklaas masks with my kids was a delightful experience. Using simple materials like paper plates and colored papers, we embarked on a creative journey that resulted in these adorable personalized masks.
The paper plates served as the perfect canvas, and with the addition of vibrant colored papers, we brought the iconic Sinterklaas characters to life.
The joyous expressions on my kids’ faces as they added their imaginative touches to each mask made the activity not just a craft session but a shared moment of laughter and creativity.
These handmade Sinterklaas masks became more than just art; they became symbols of the festive spirit we embraced together as a family.
How to make a Sinterklaas paper plate mask:
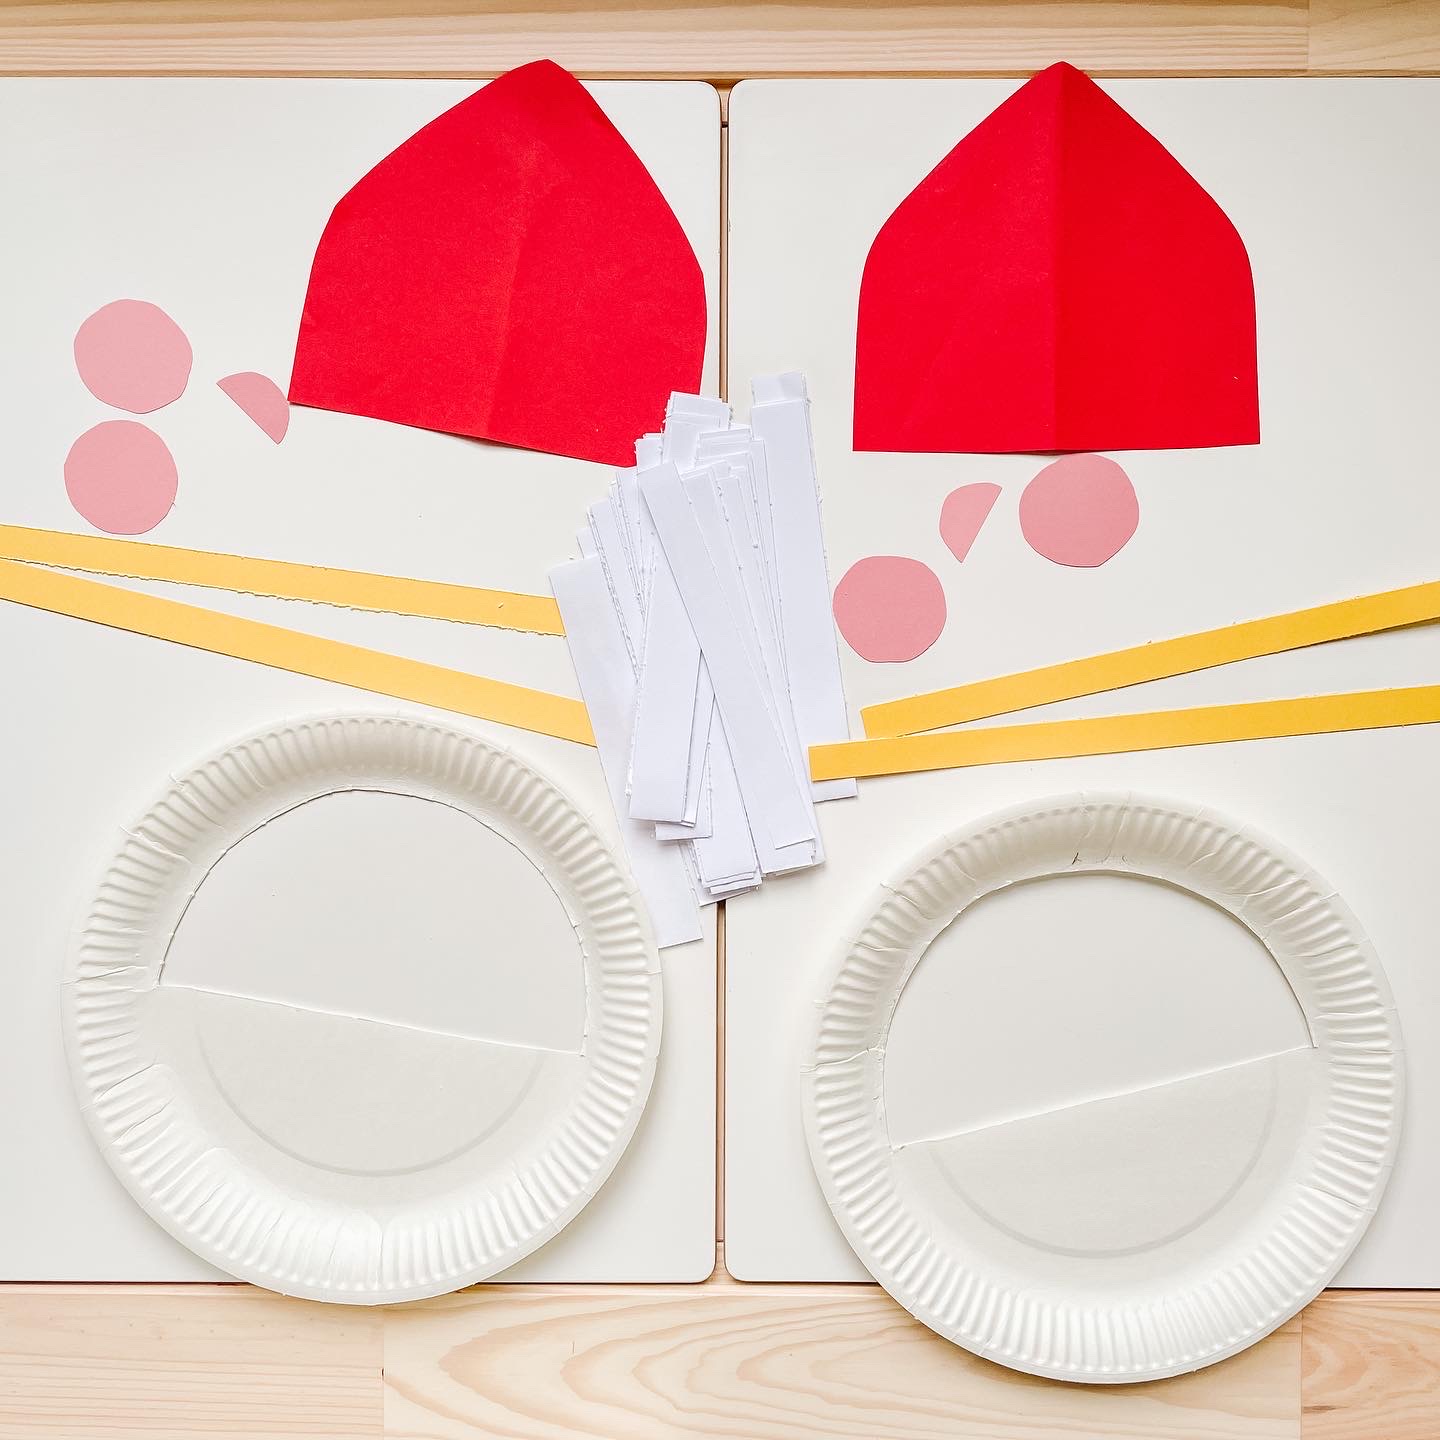
Materials needed:
- Paper plate
- Colored papers; red, yellow, light pink and white
- Glue
- Scissors
- Glue gun and stick
- Stick
Instructions:
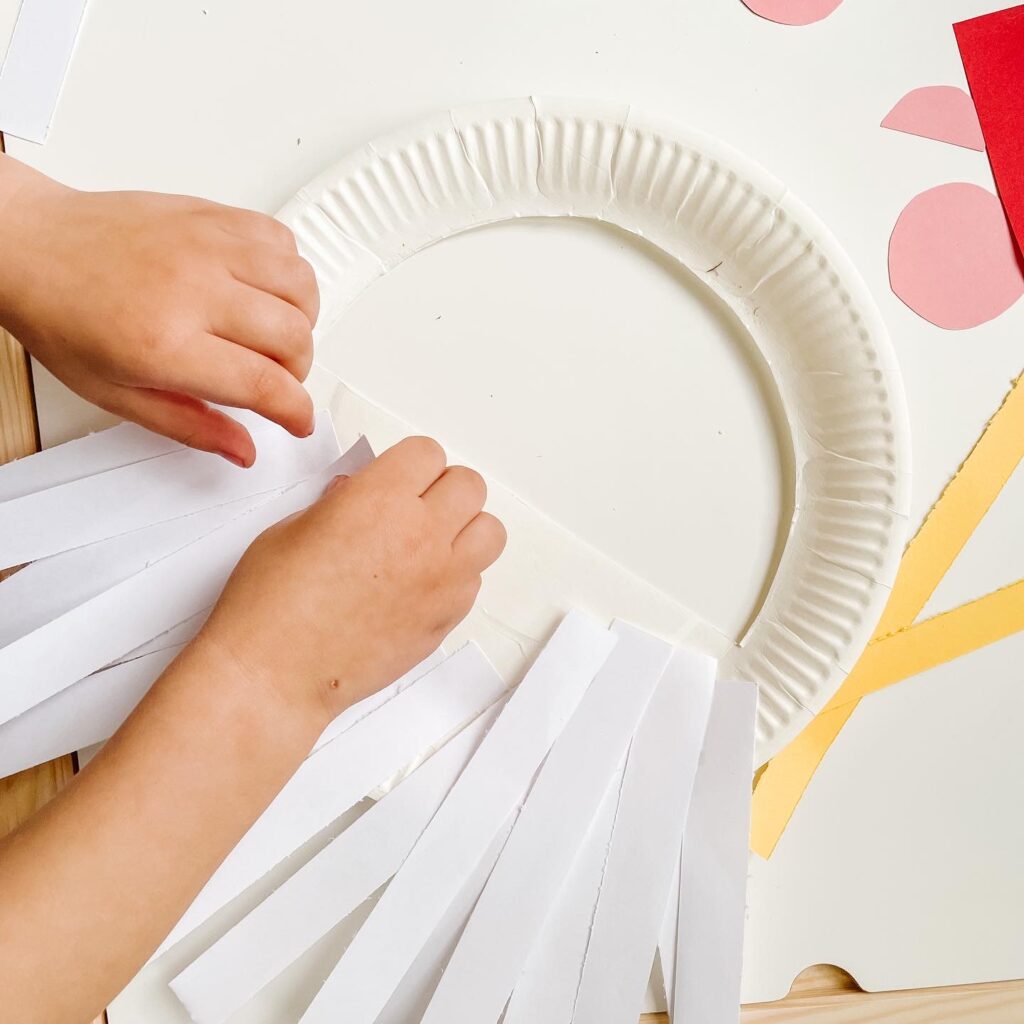
- Cut out a half circle inside the paper plate.
- Cut strips of white paper (1×8 in).
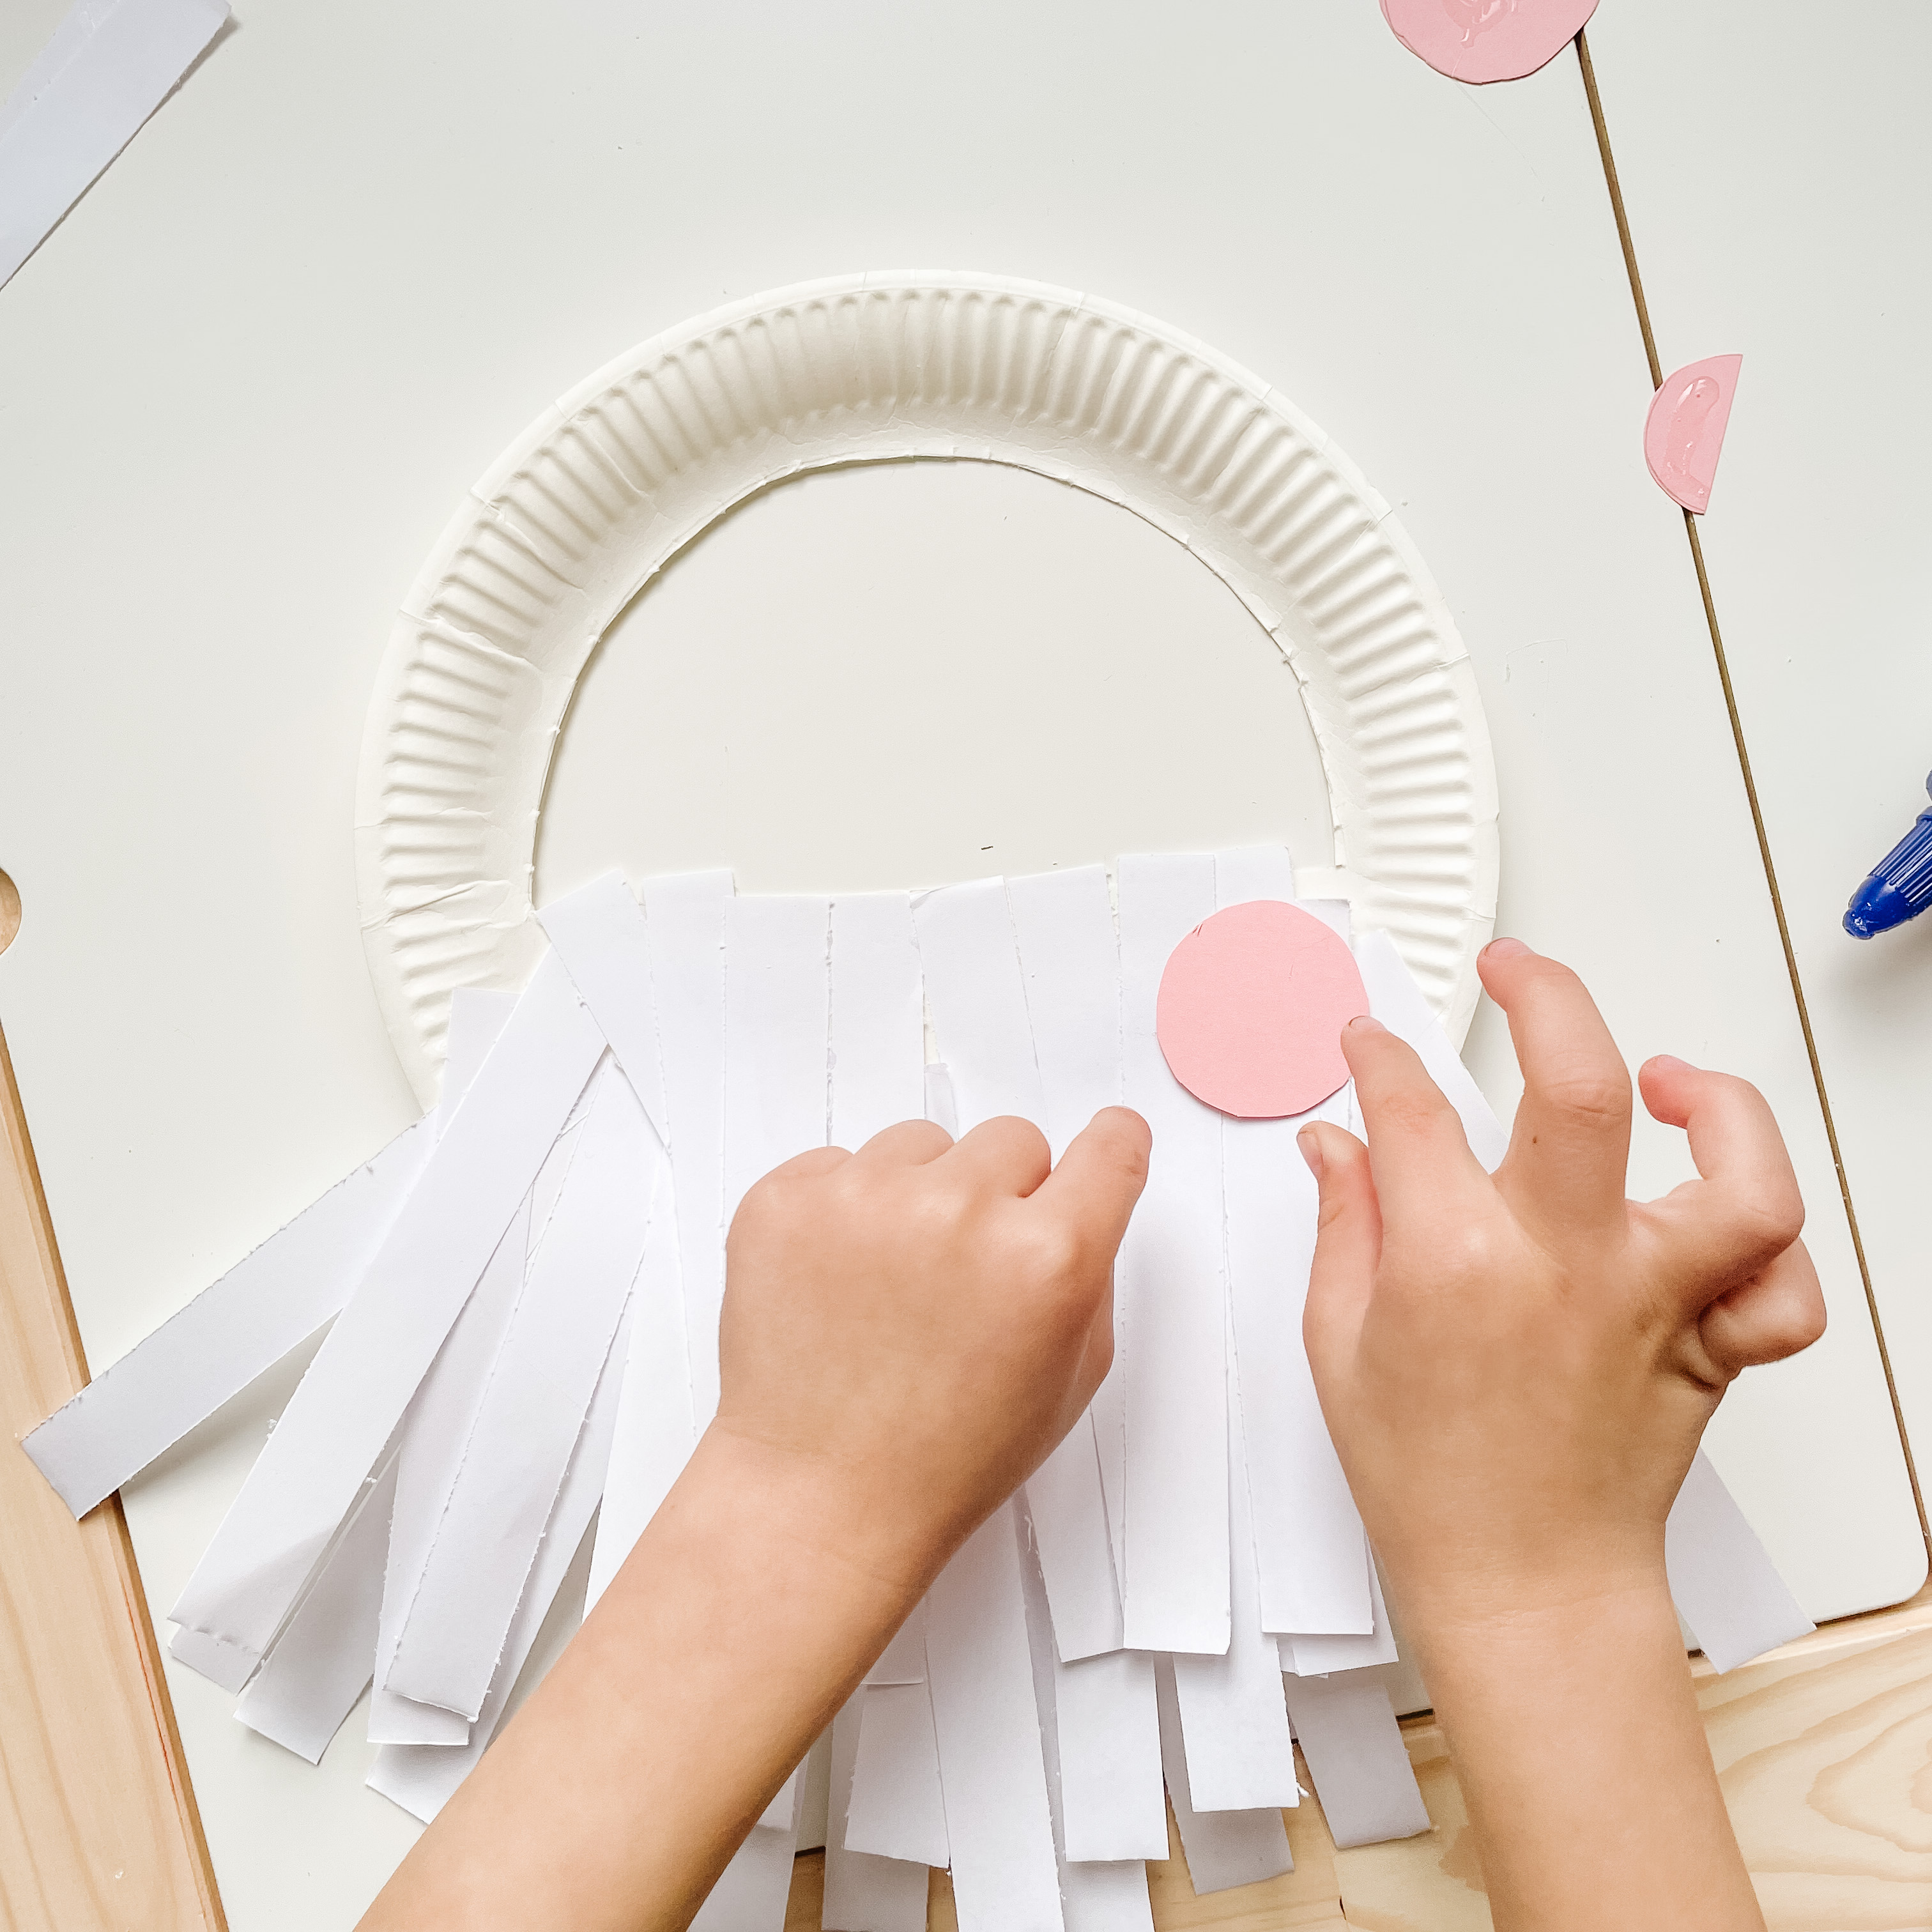
- Glue the strips of paper to the bottom part of the paper plate, completely covering it.
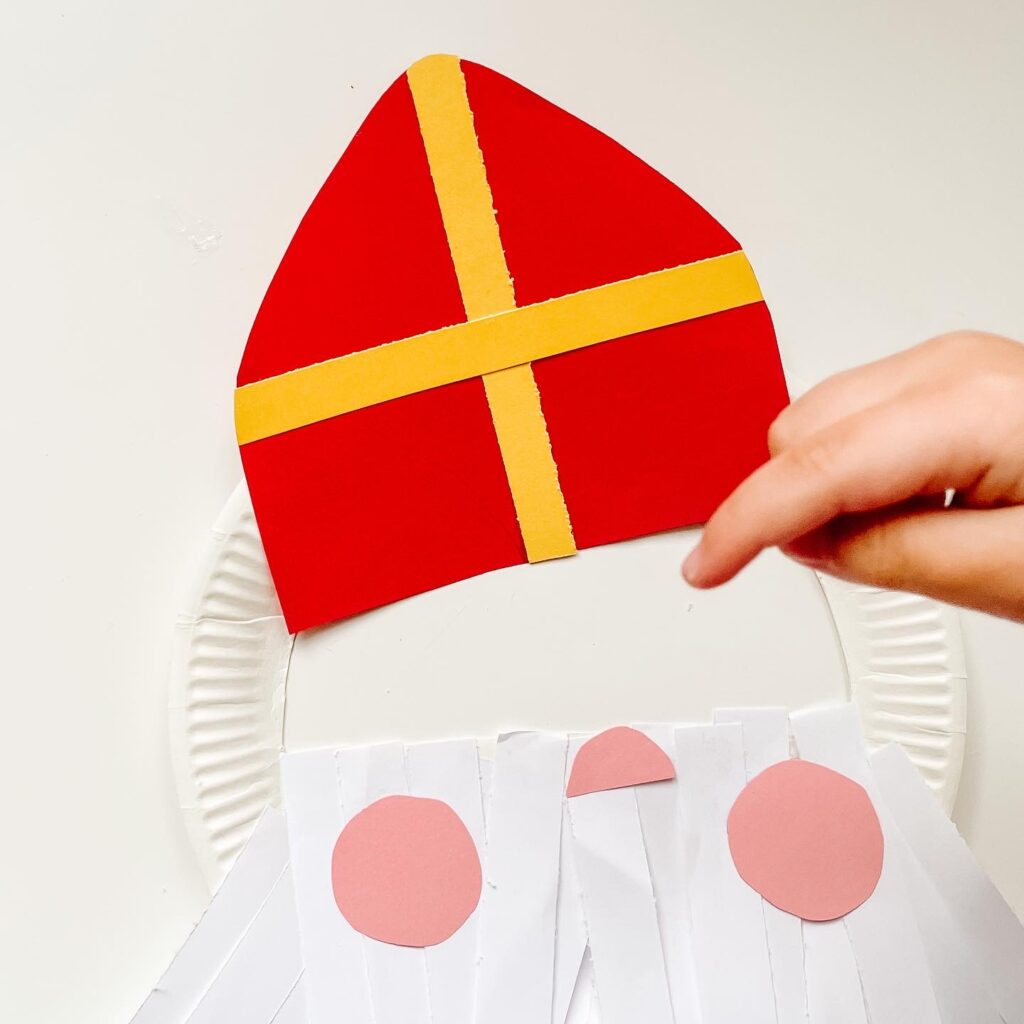
- Cut the Sinterklaas hat from the red paper.
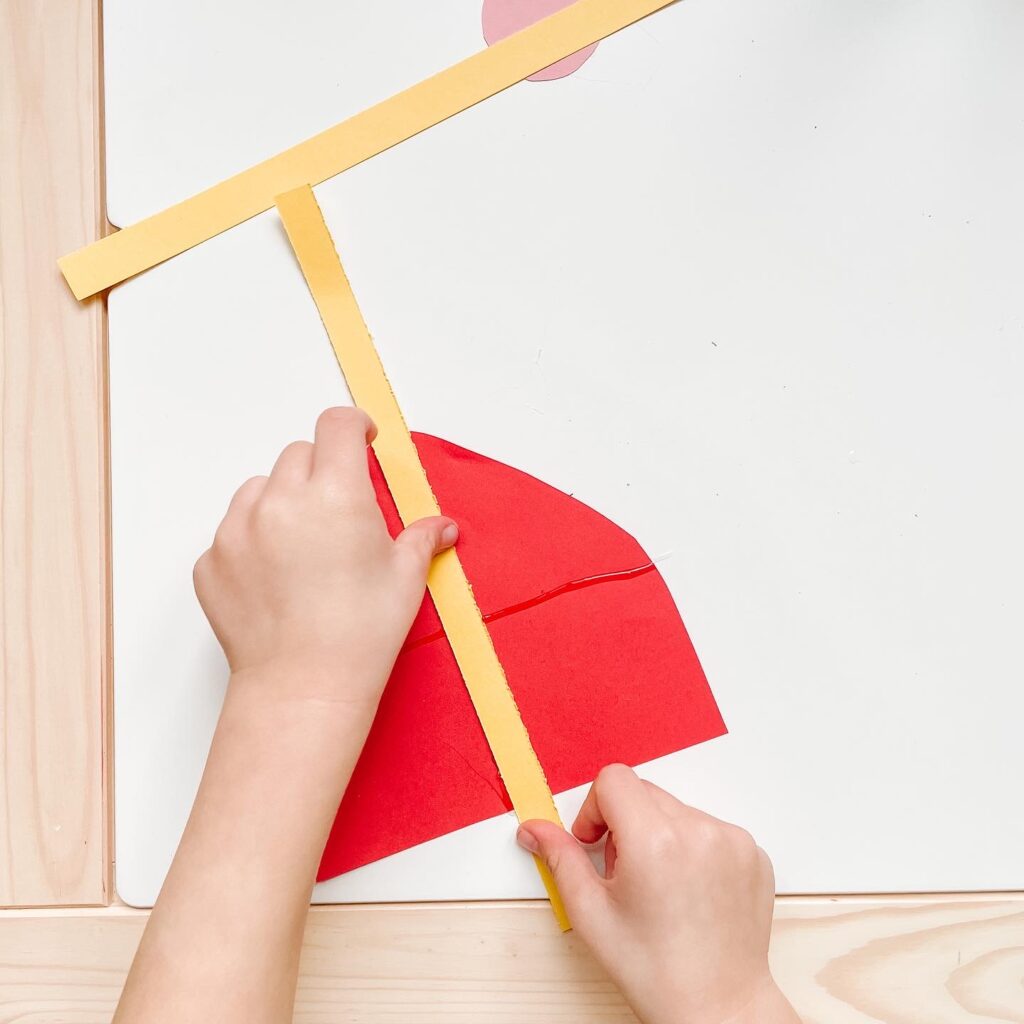
- Cut two strips of yellow paper and glue them onto the red paper to form a cross.
- Glue the hat on top of the paper plate.
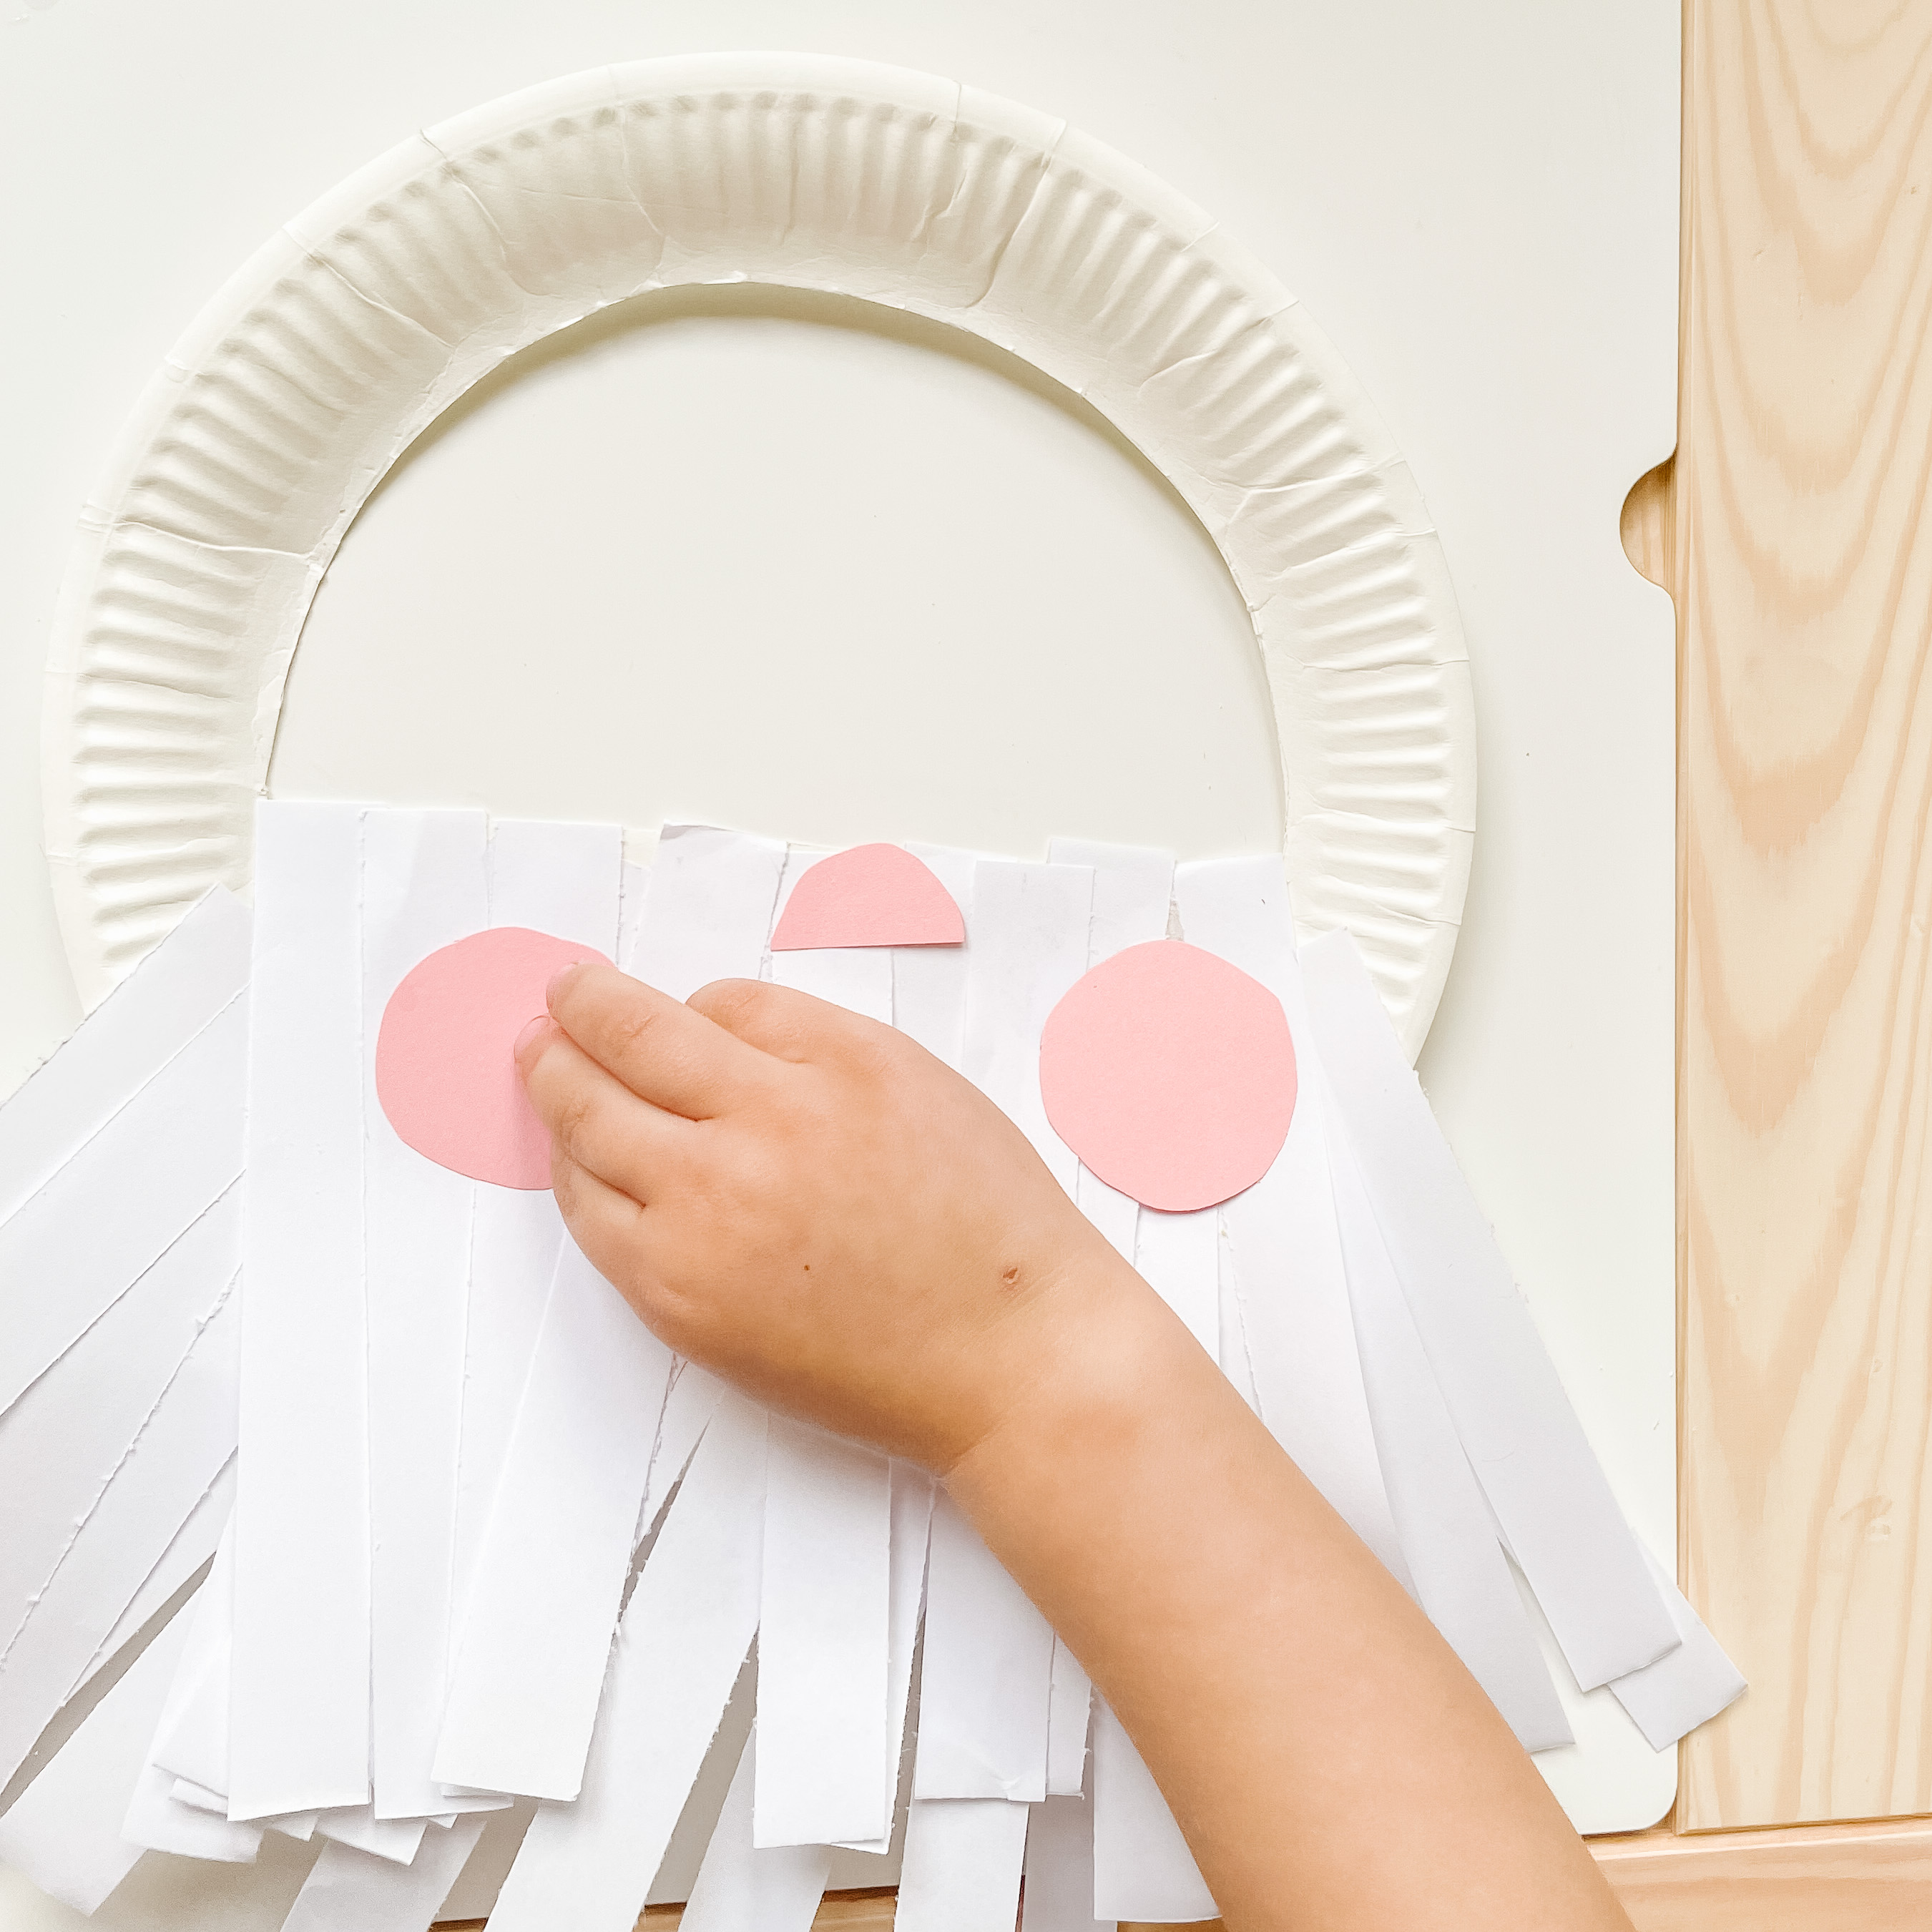
- Cut two small circles and a smaller half-circle from the light pink paper.
- Glue them onto the front of the paper beard.
- Attach the stick to the lower back part of the paper plate with hot glue.
PIN ME FOR LATER



Leave a Comment