
Looking for a back-to-school craft to do with your kids? This cardboard backpack is the perfect project!
Cardboard backpacks make for the perfect back-to-school craft. The kids have the creative freedom to color and decorate their bags exactly the way they want, turning this activity into a personalized and enjoyable project. This hands-on experience not only fosters artistic expression but also adds a touch of individuality to their school essentials.
My son has an immense love for dinosaurs. When posed with the question of what type of cardboard backpack he’d like to create, his enthusiastic response was, “a dinosaur!” This choice reflects his passion, and the prospect of crafting a dinosaur-themed backpack adds an extra layer of excitement to our back-to-school preparations. It’s not just a craft; it’s a personalized expression of his interests, making the upcoming school days even more special.
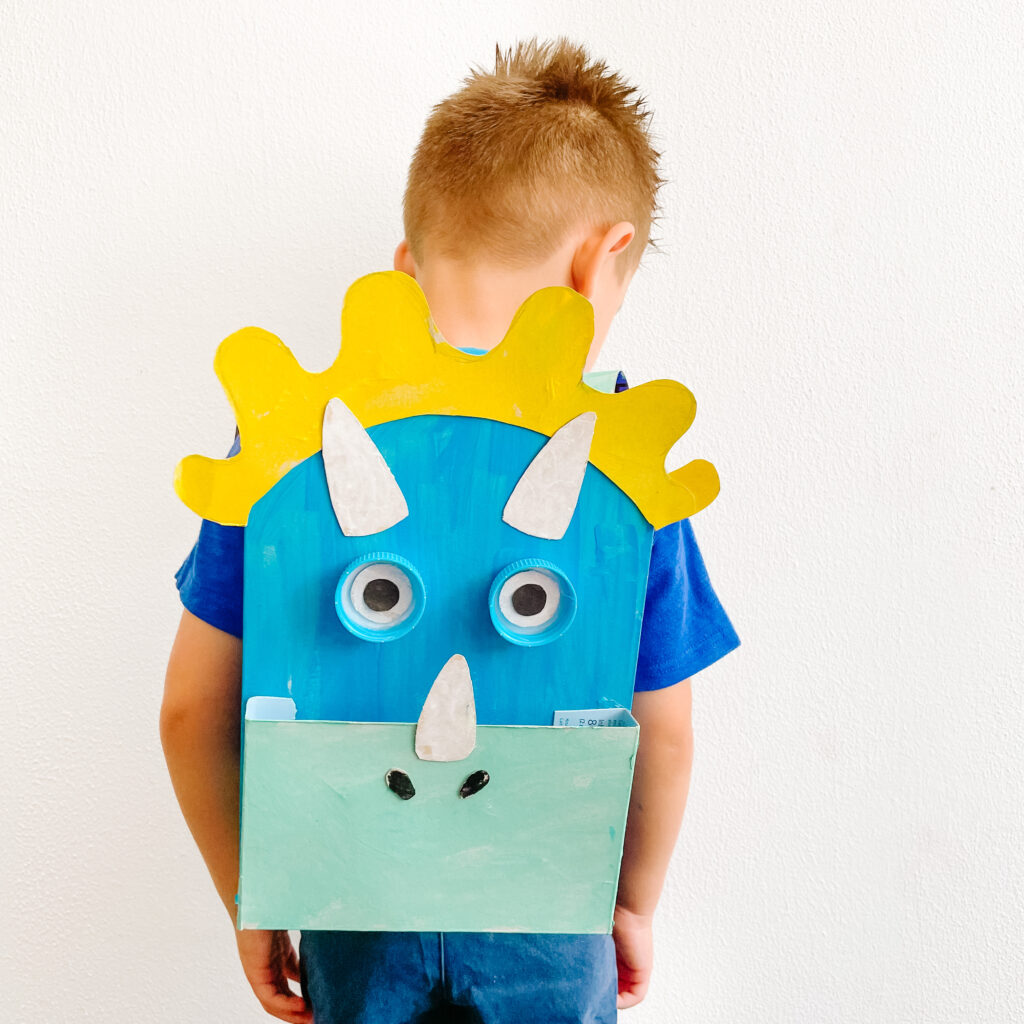
How to make a cardboard dinosaur backpack:
Materials needed:
- Recycled cereal boxes
- Recycled milk caps
- Paint and paintbrushes
- All-purpose glue
- Glue gun and stick
- Scissors
Instructions:
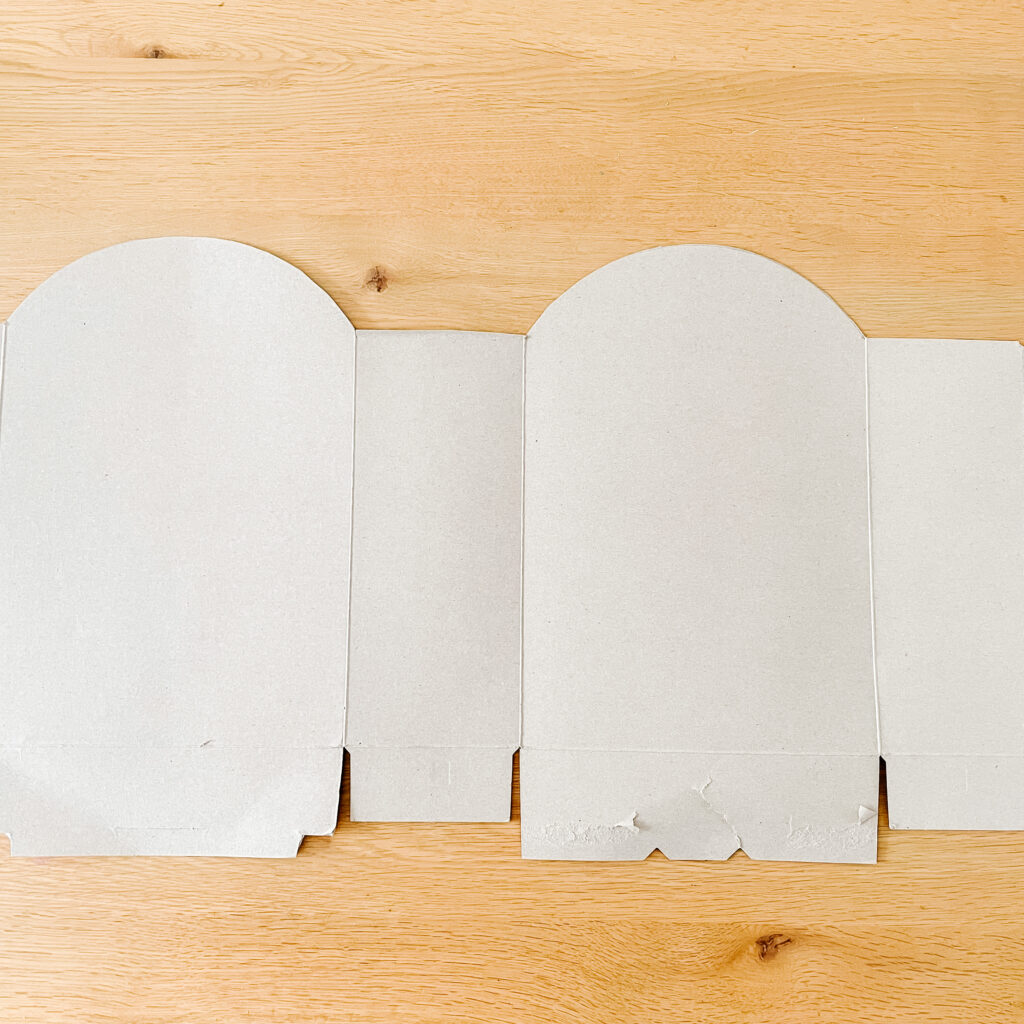
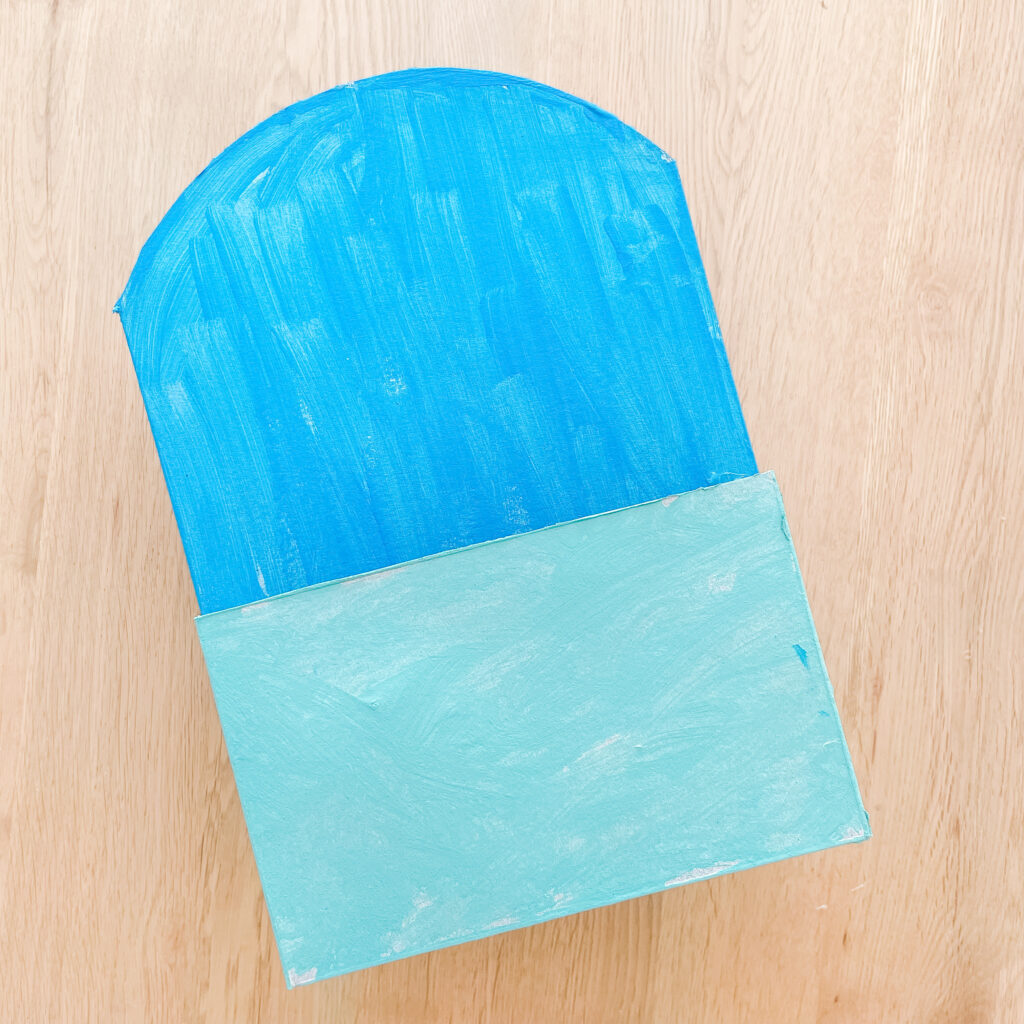
- Open the empty cereal box.
- Cut an arch at the top of both the front and back sections of the box.
- Slowly close the box inside out.
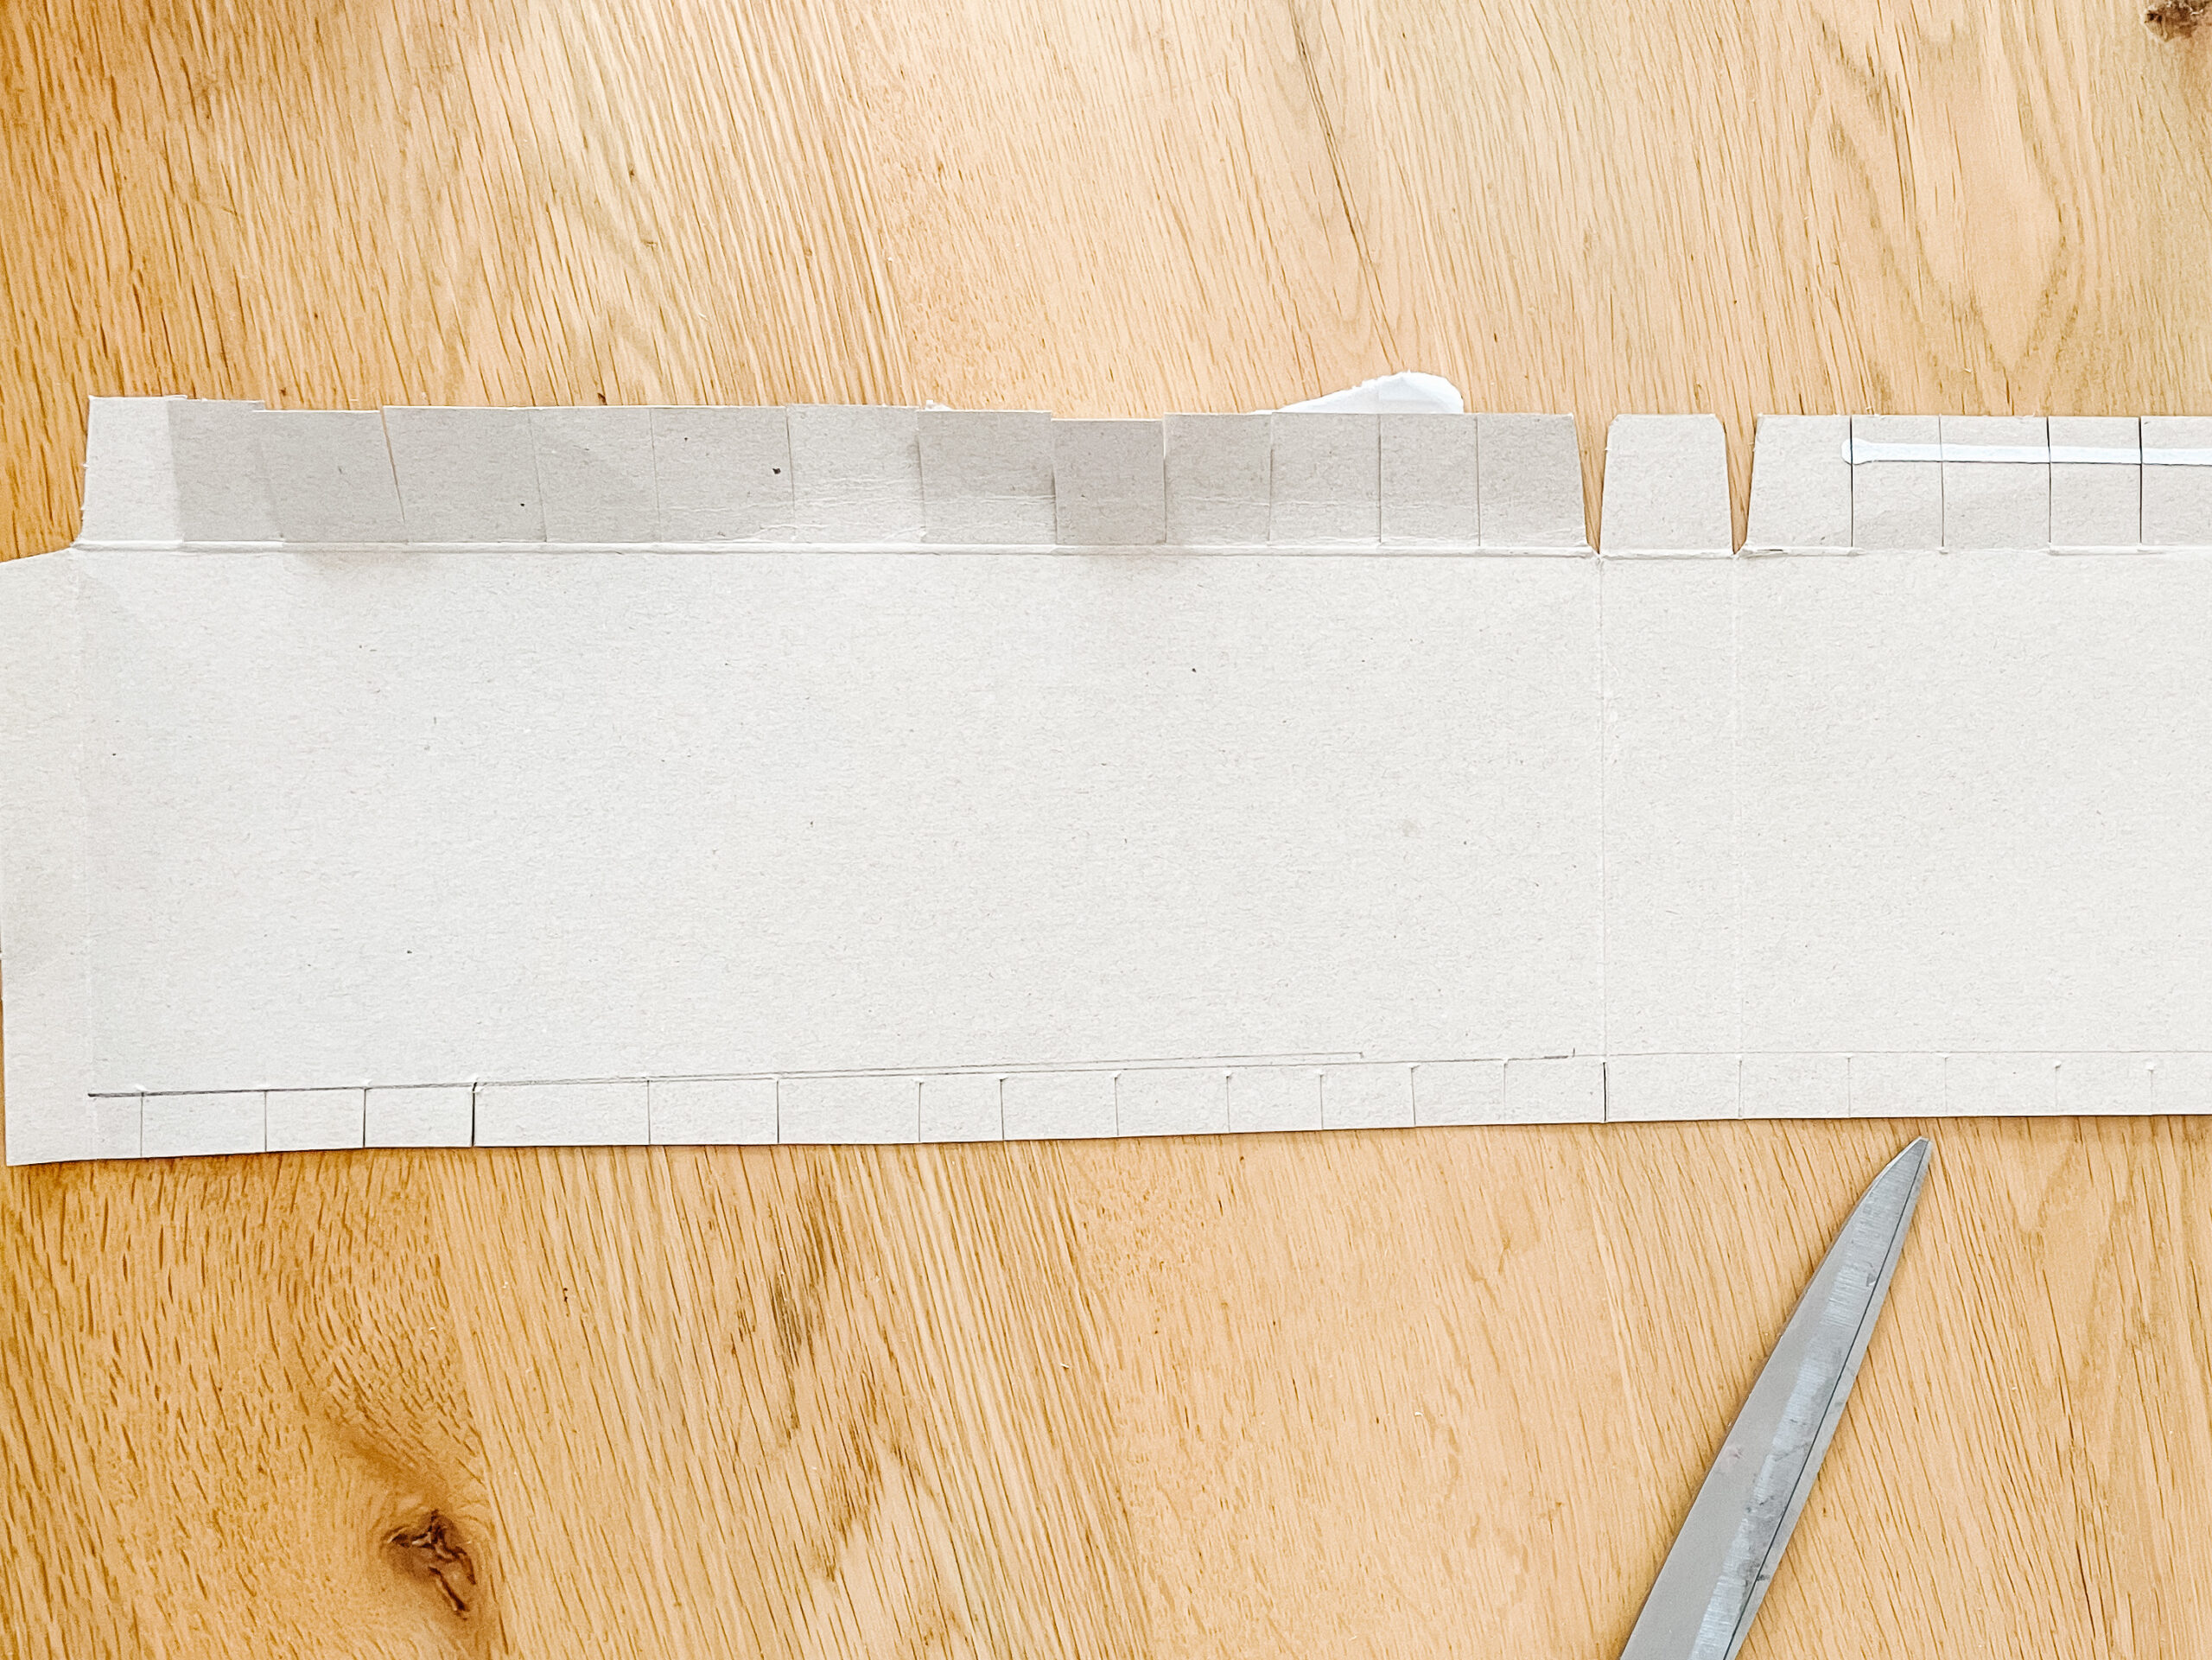
- Cut a strip matching the size of the top opening and make small incisions along the edges.
- Attach the strip onto the top part of the cereal box.
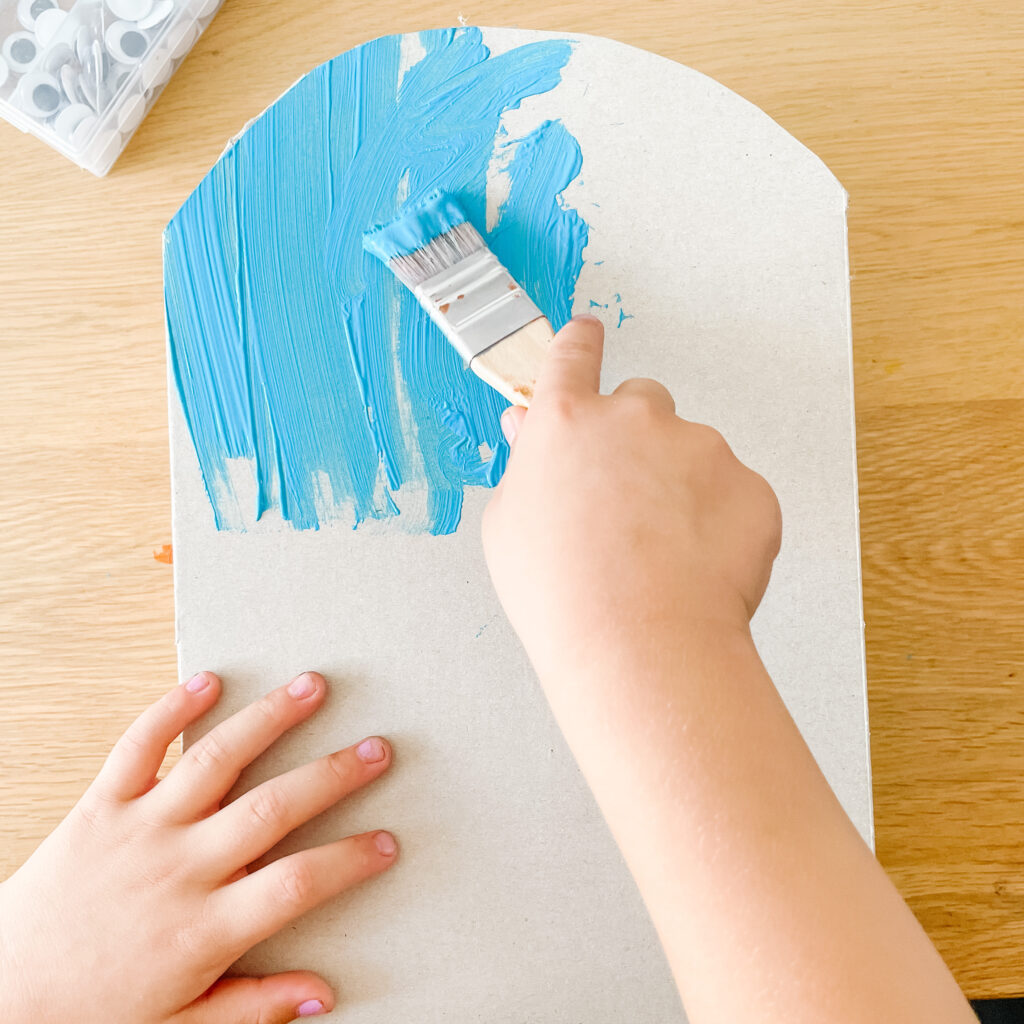
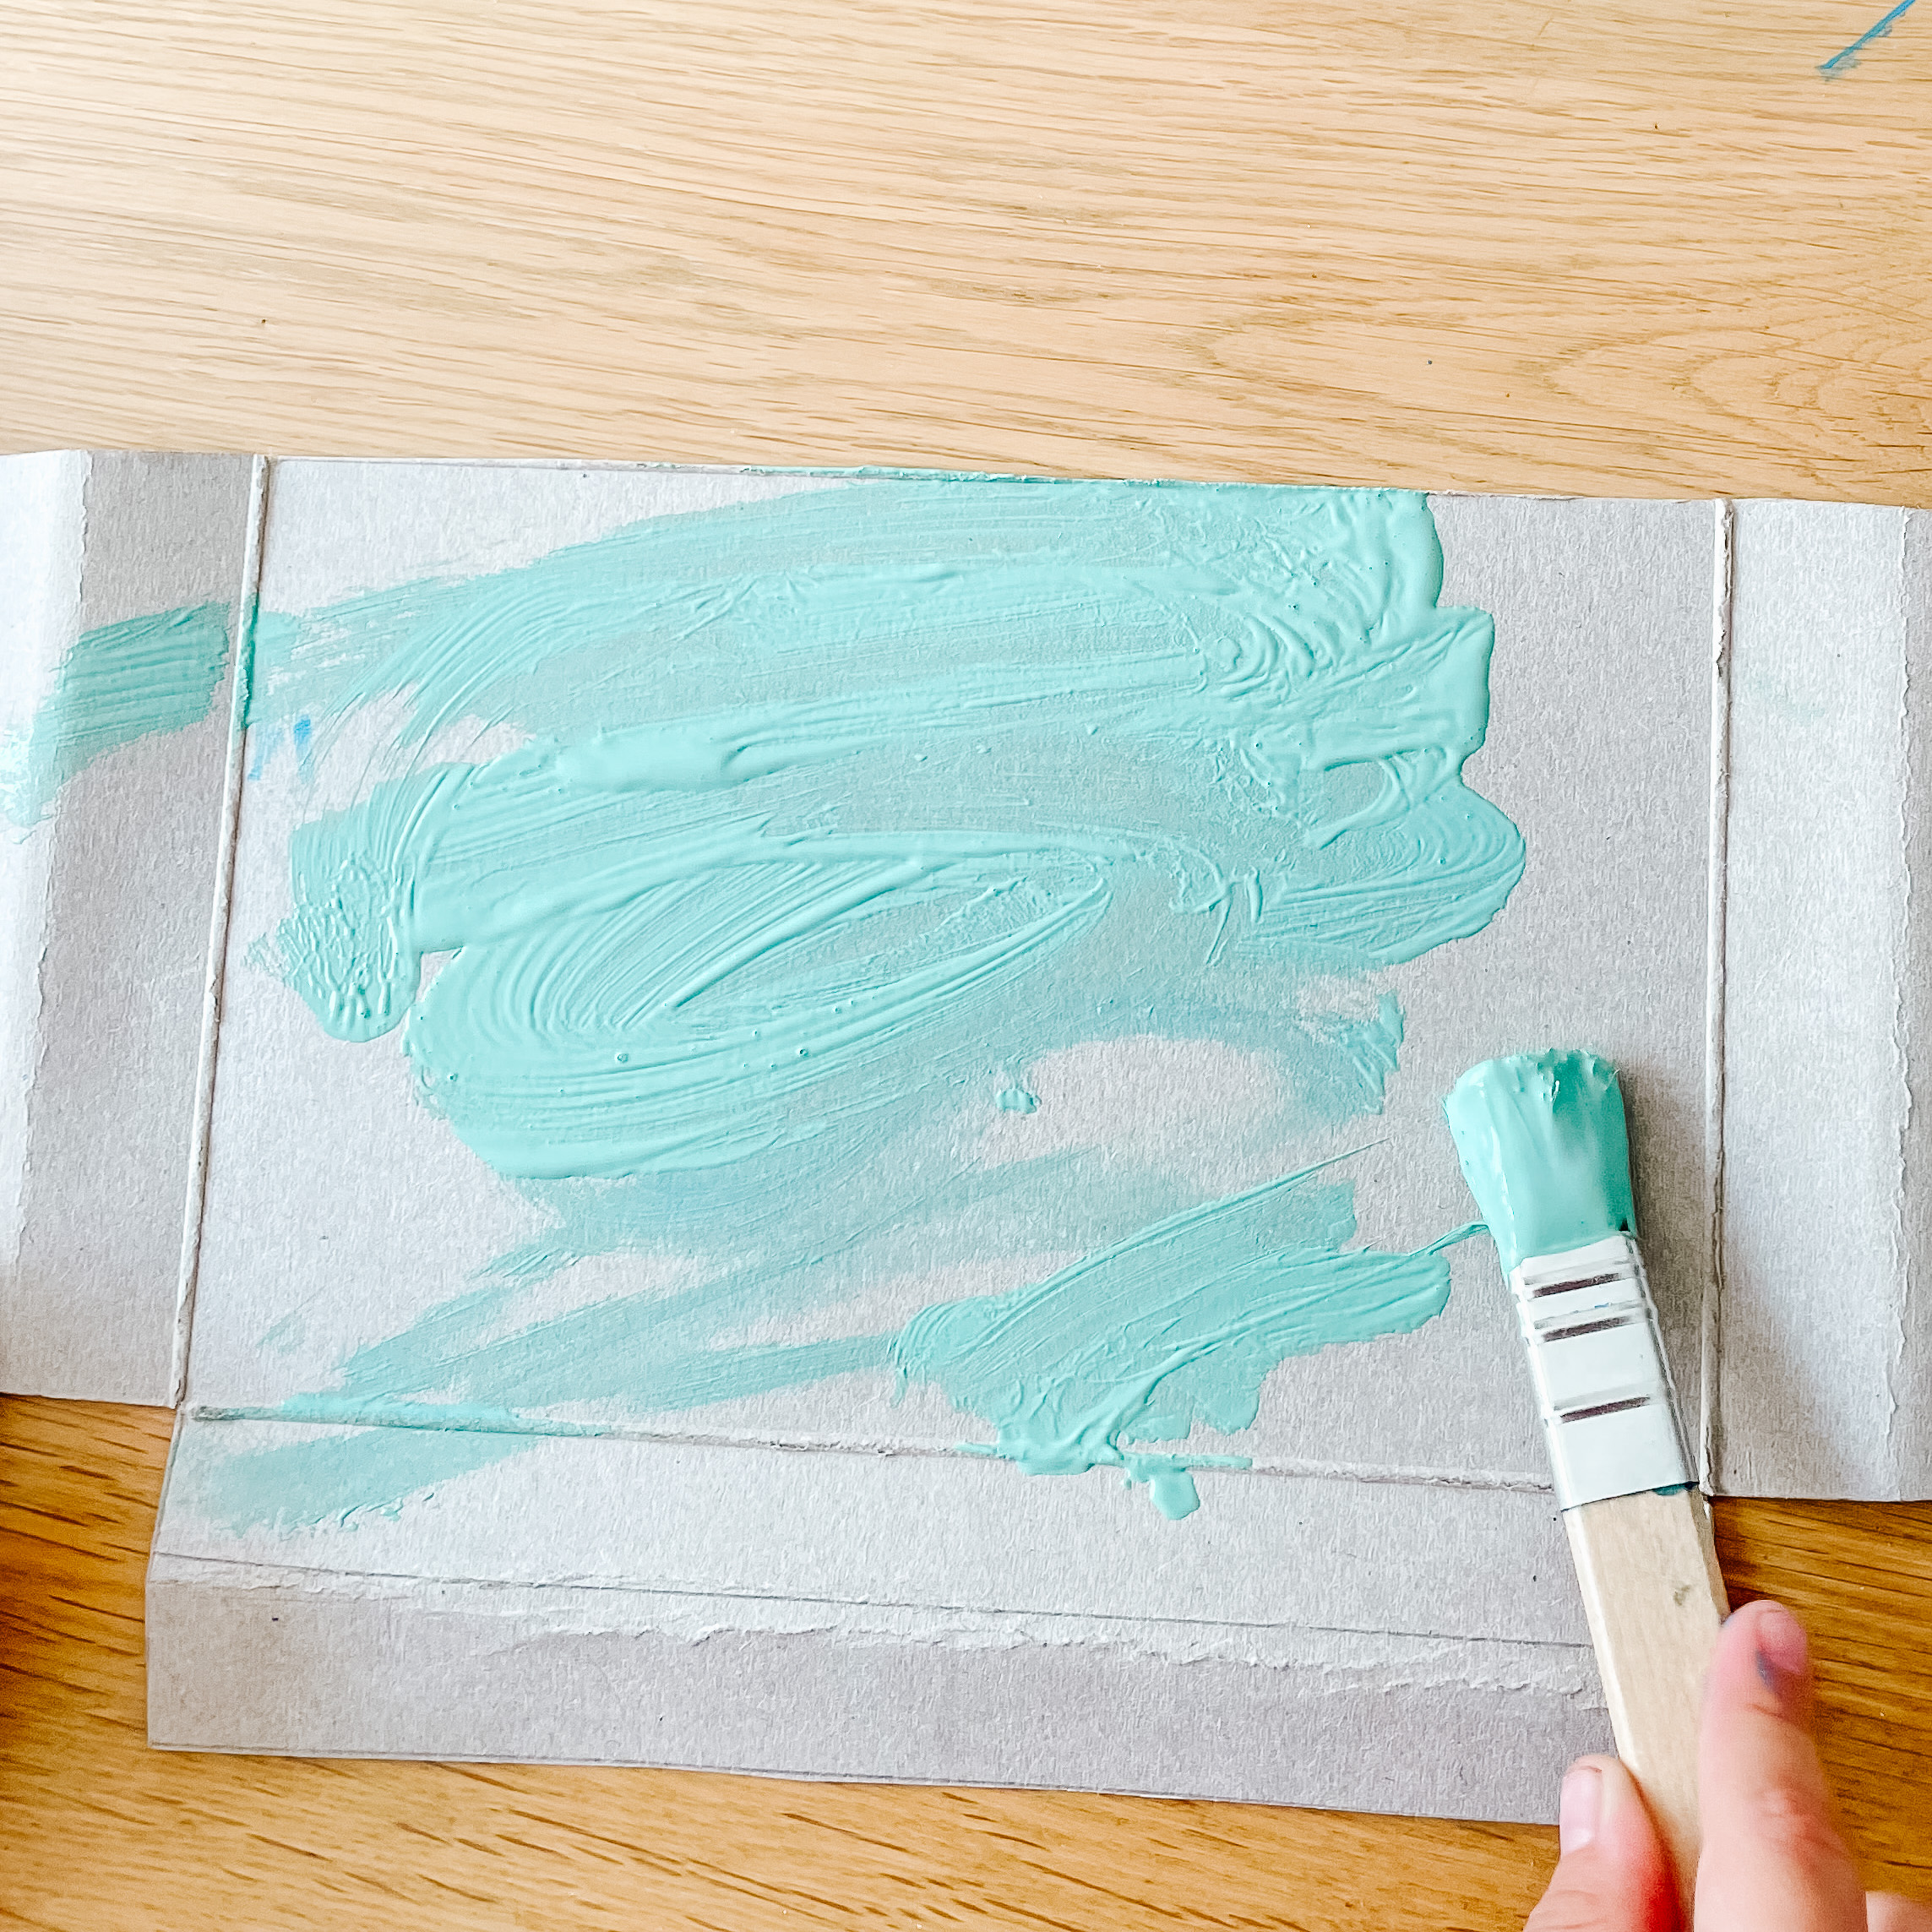
- Paint the entire box.
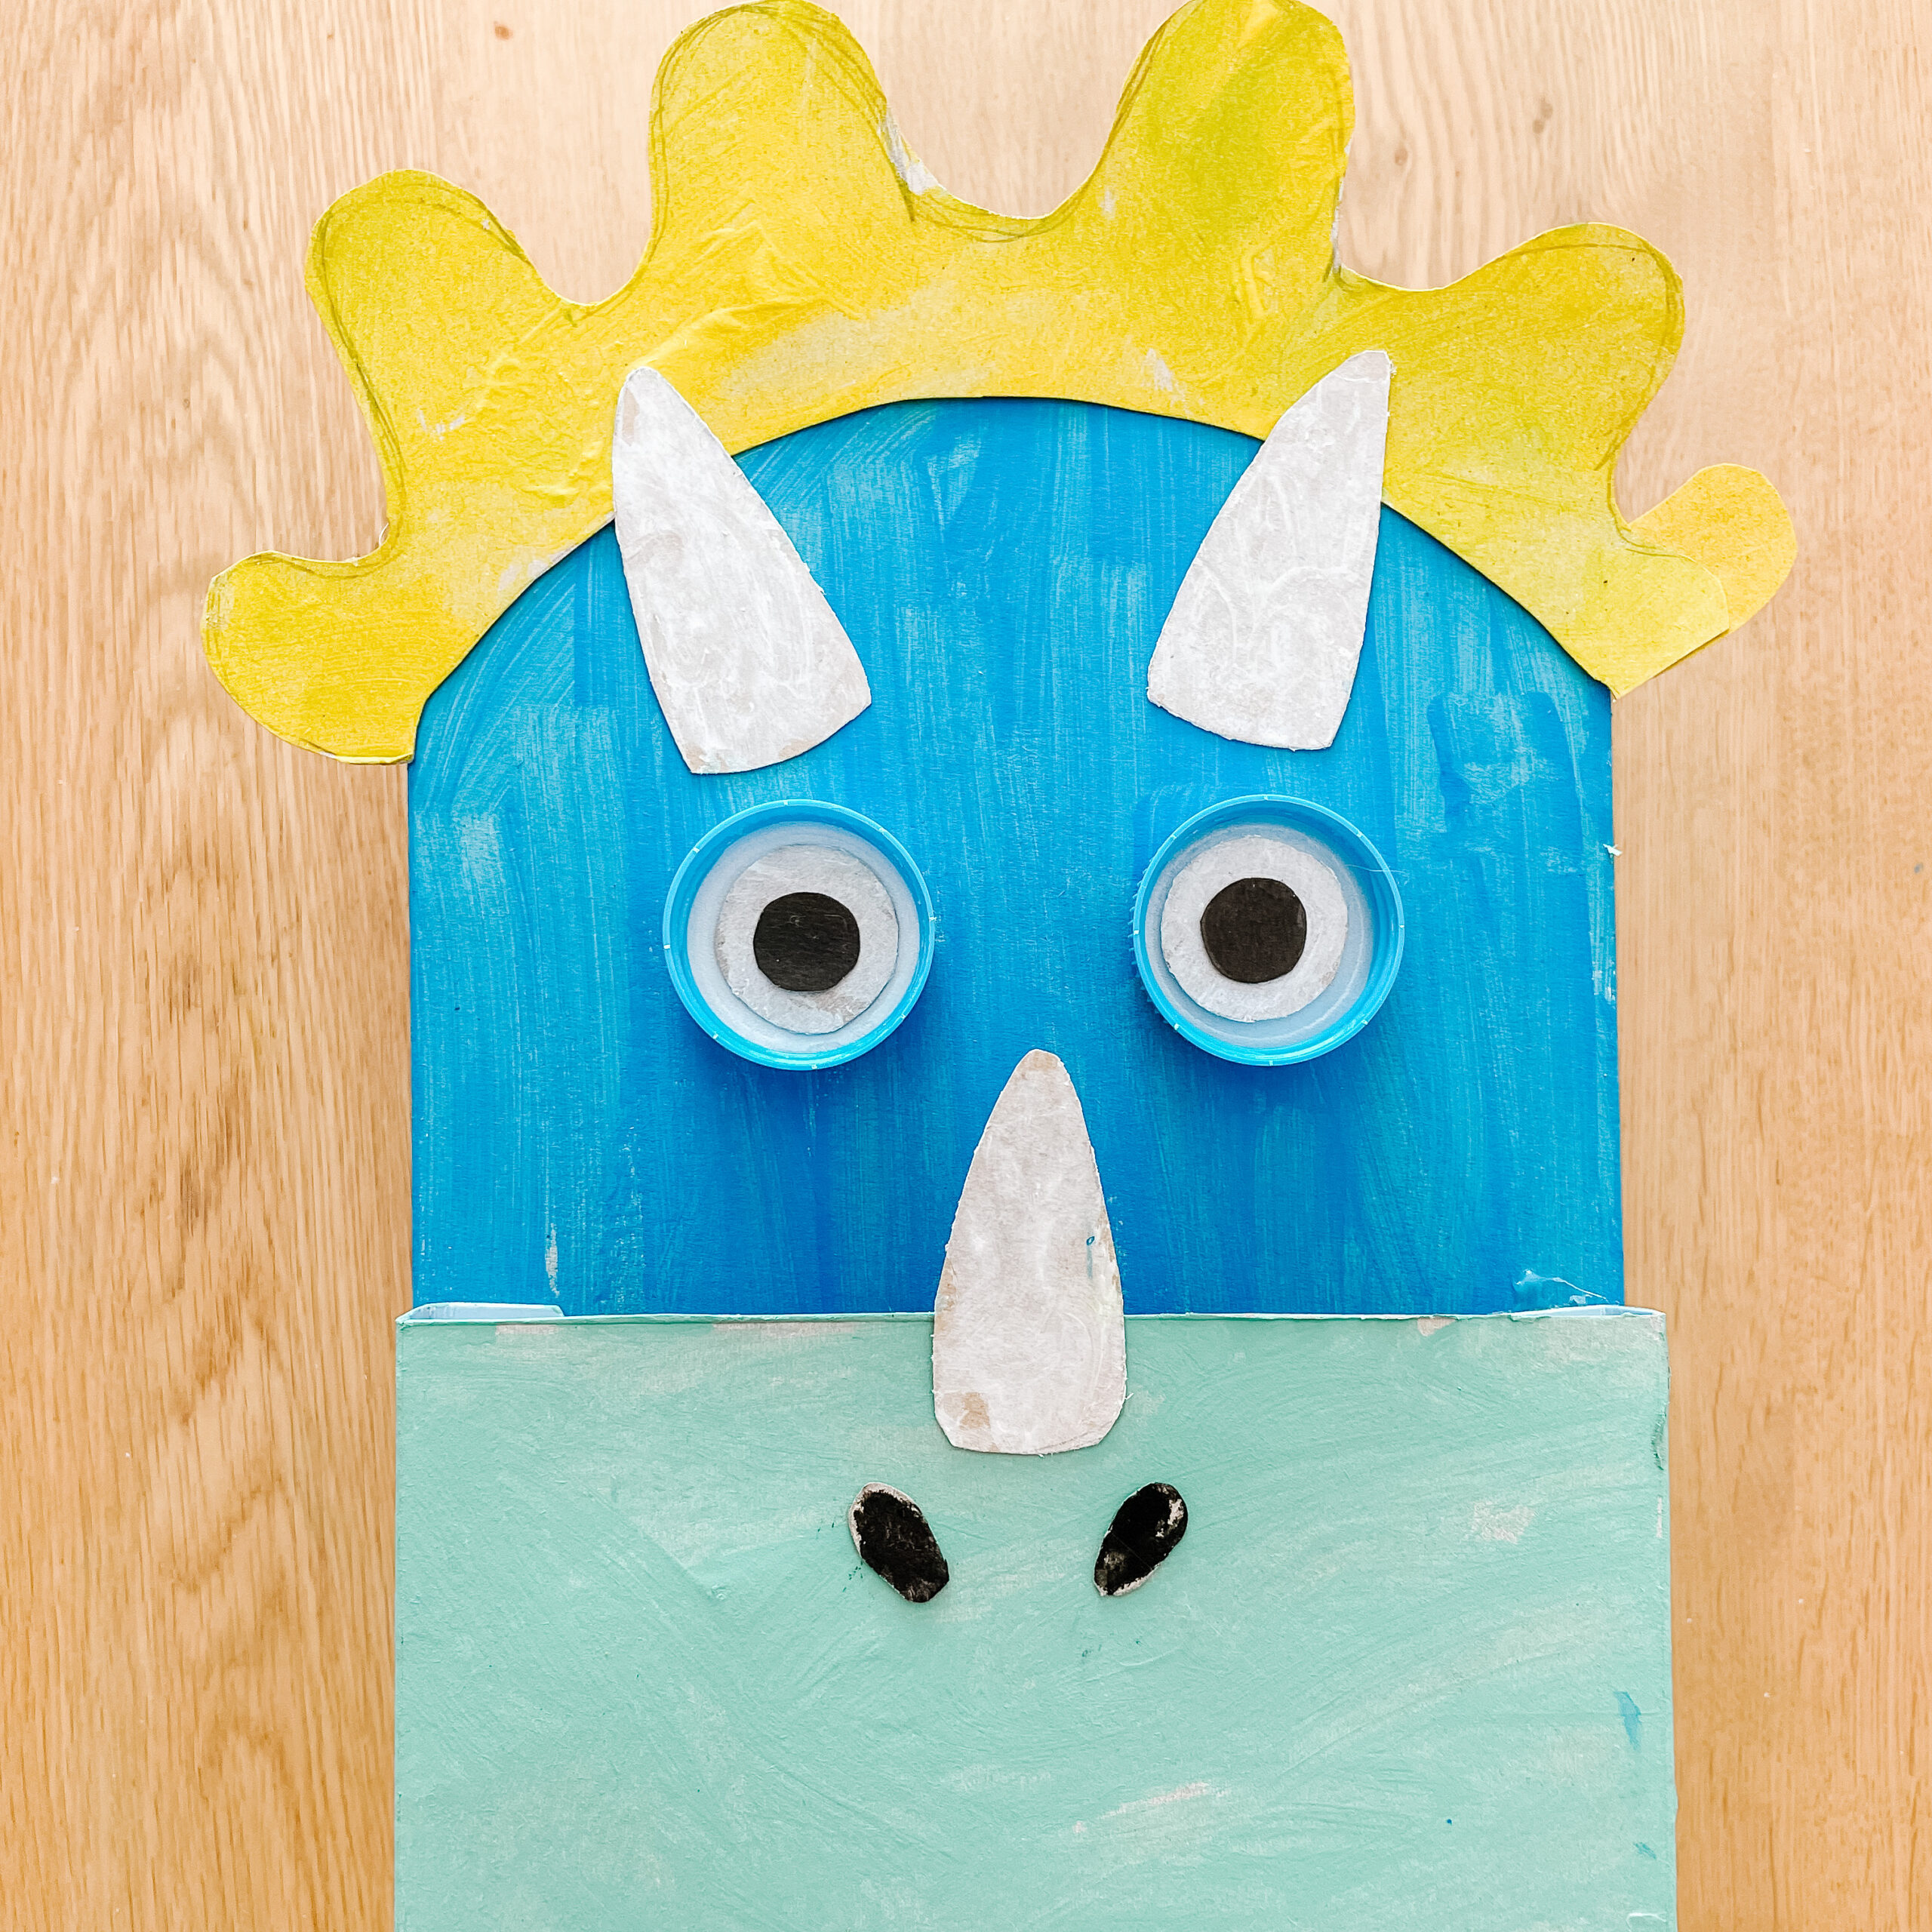
- Take another piece of cereal box and cut it into a square.
- Fold the edges of the square, leaving the top unfolded, and then proceed to paint it.
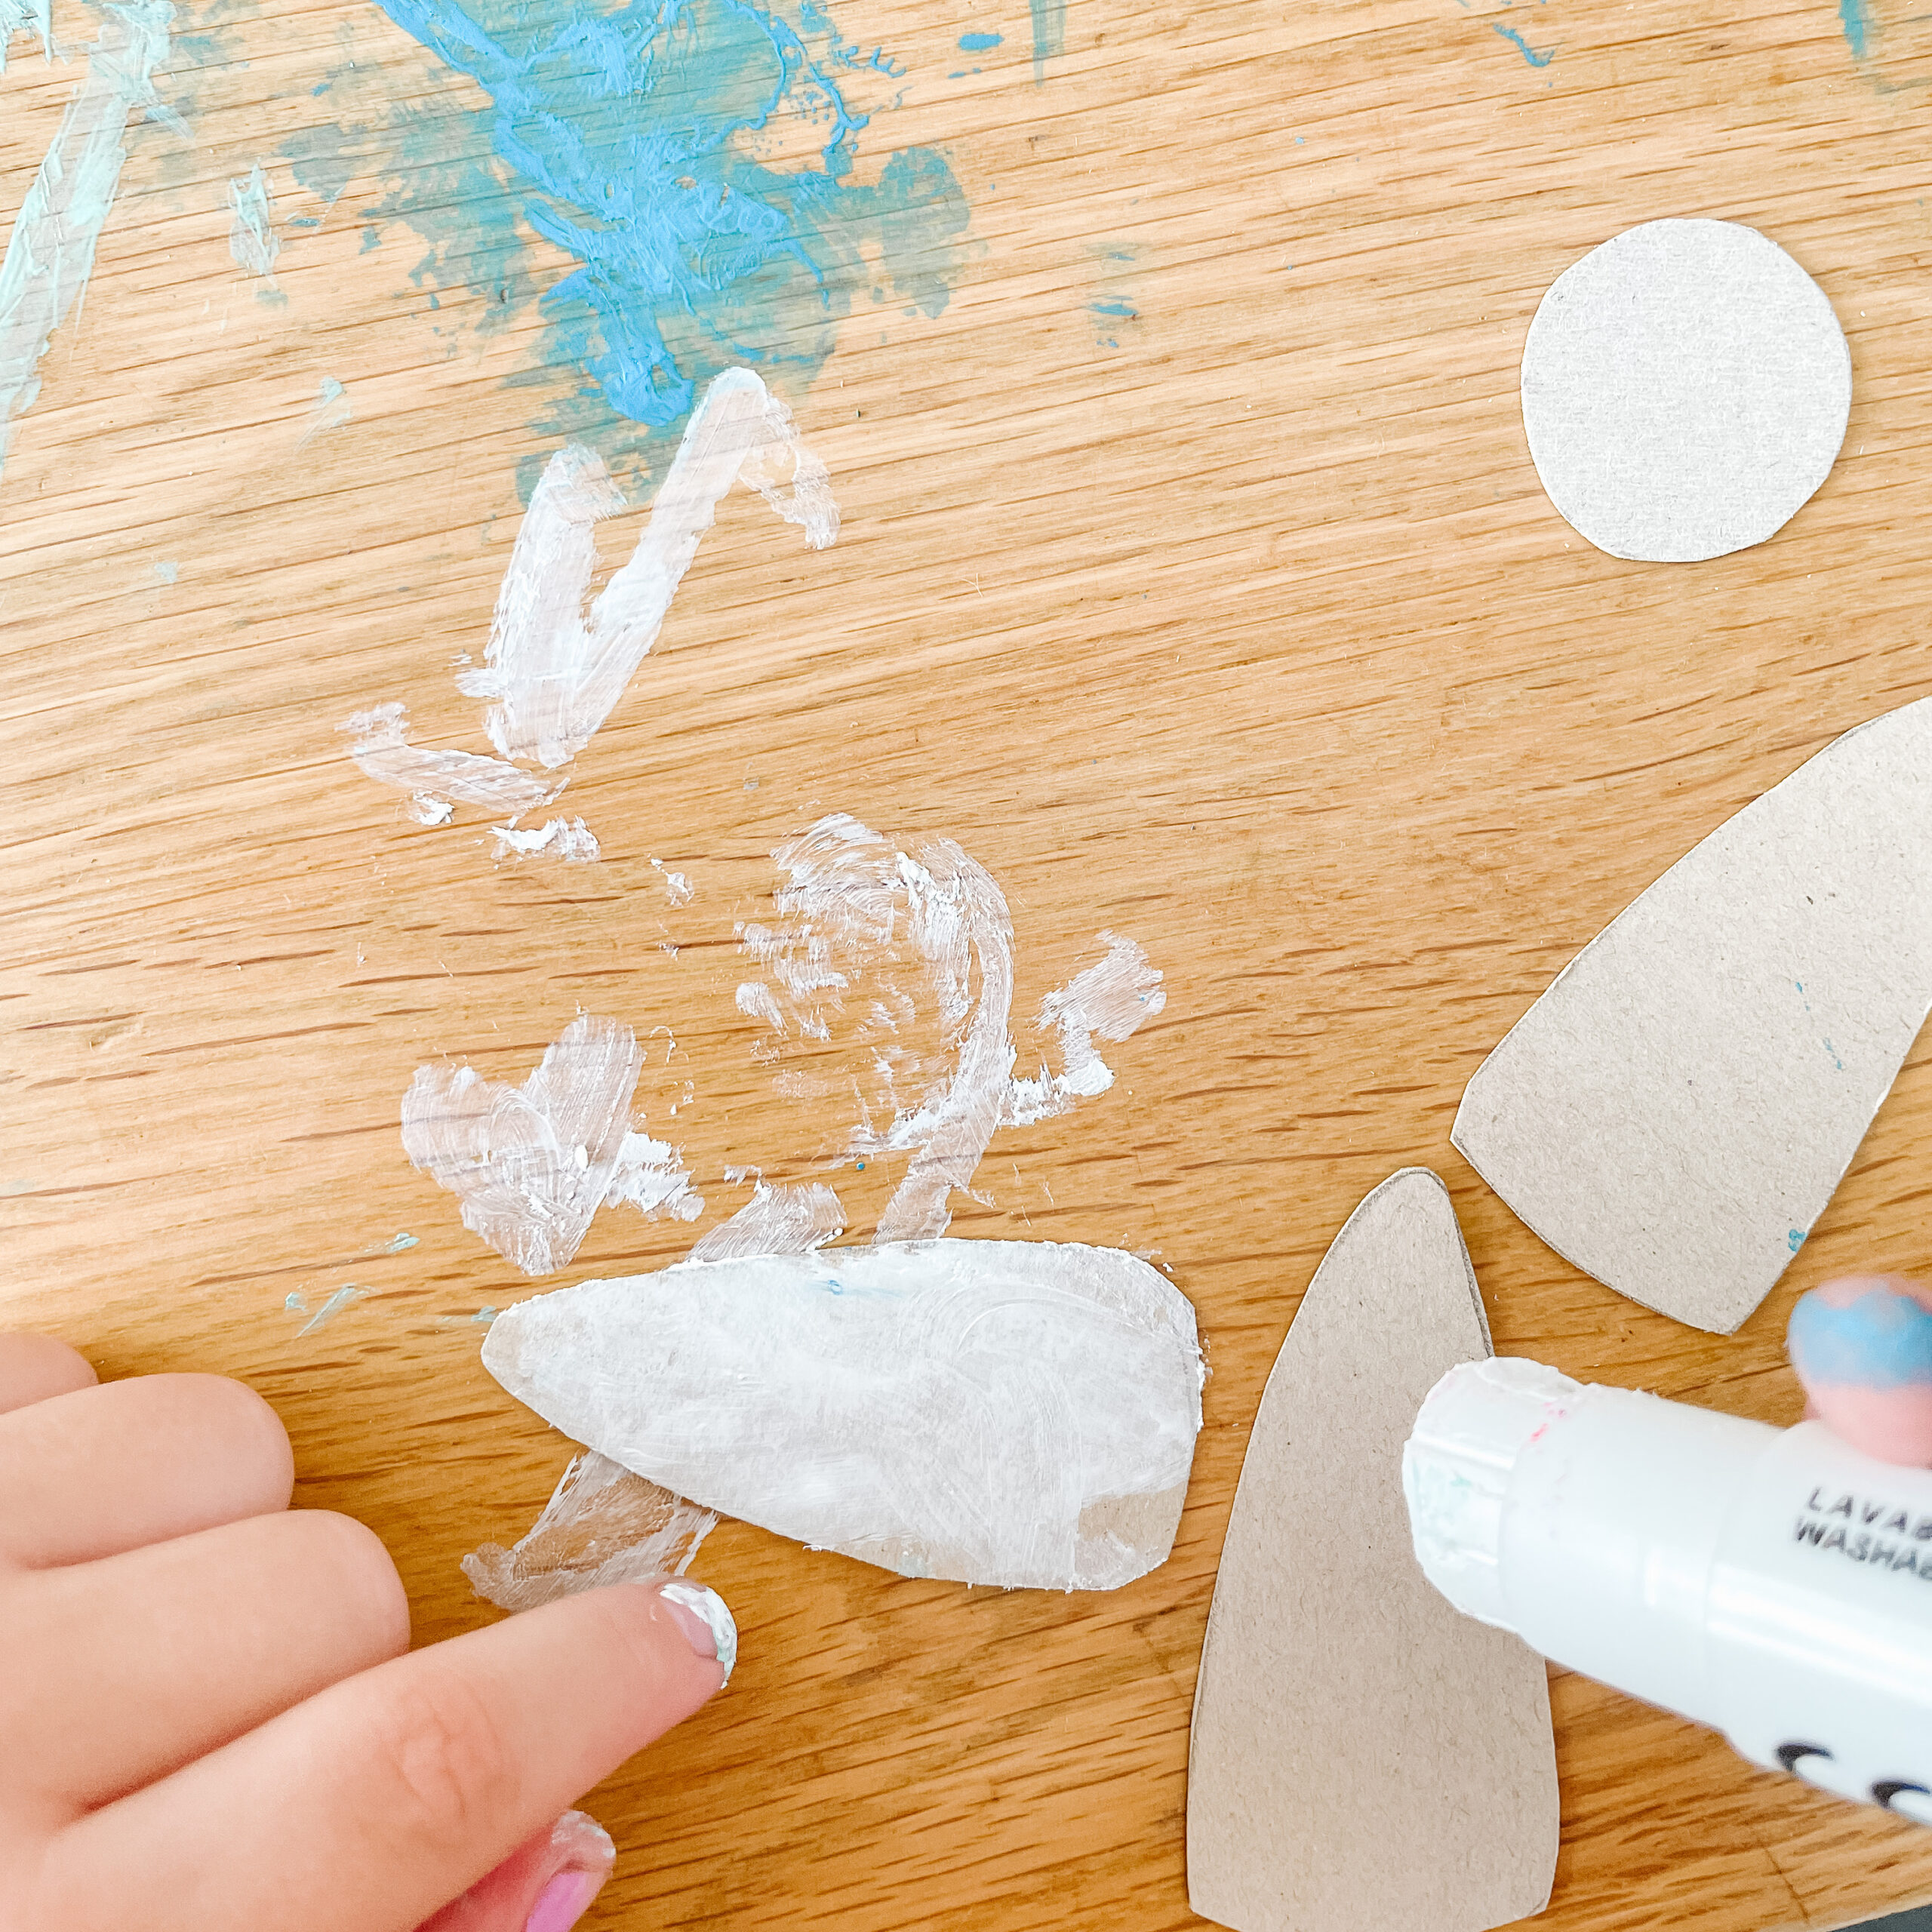
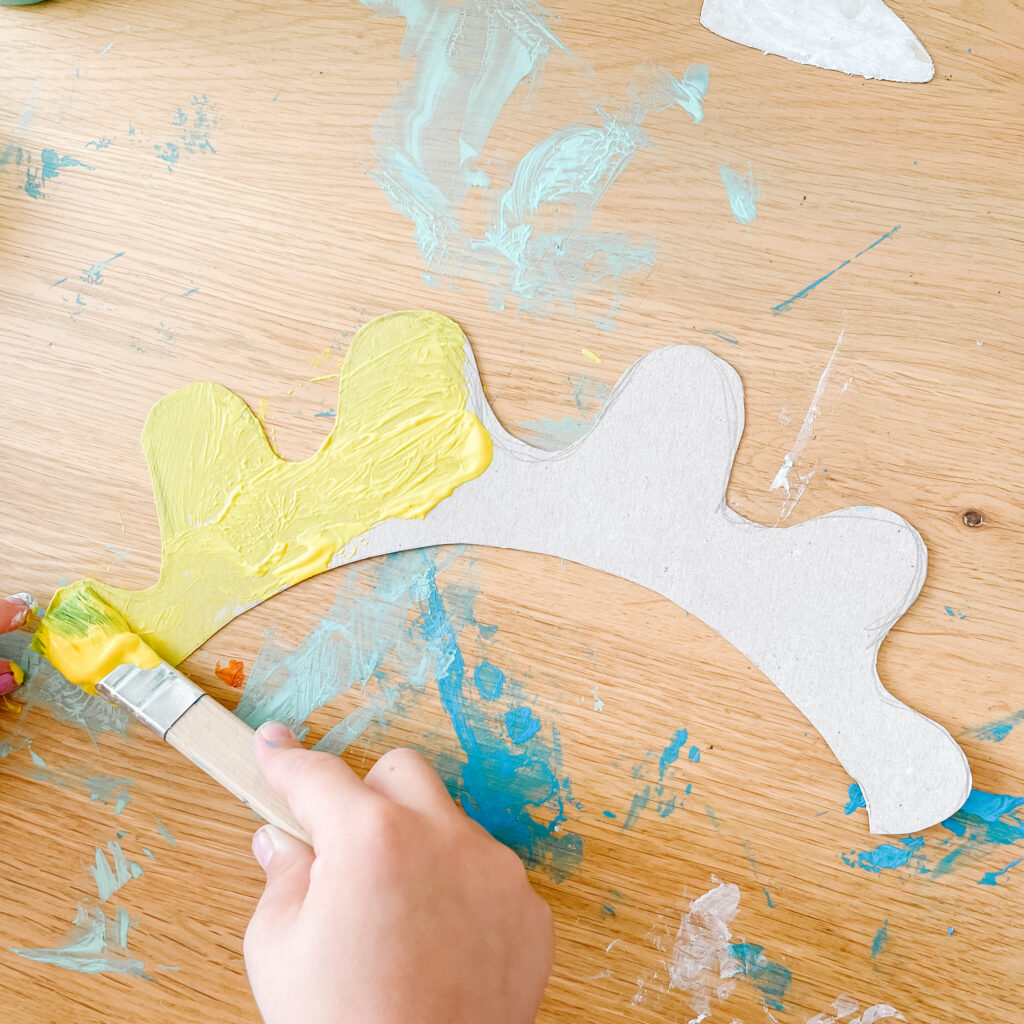
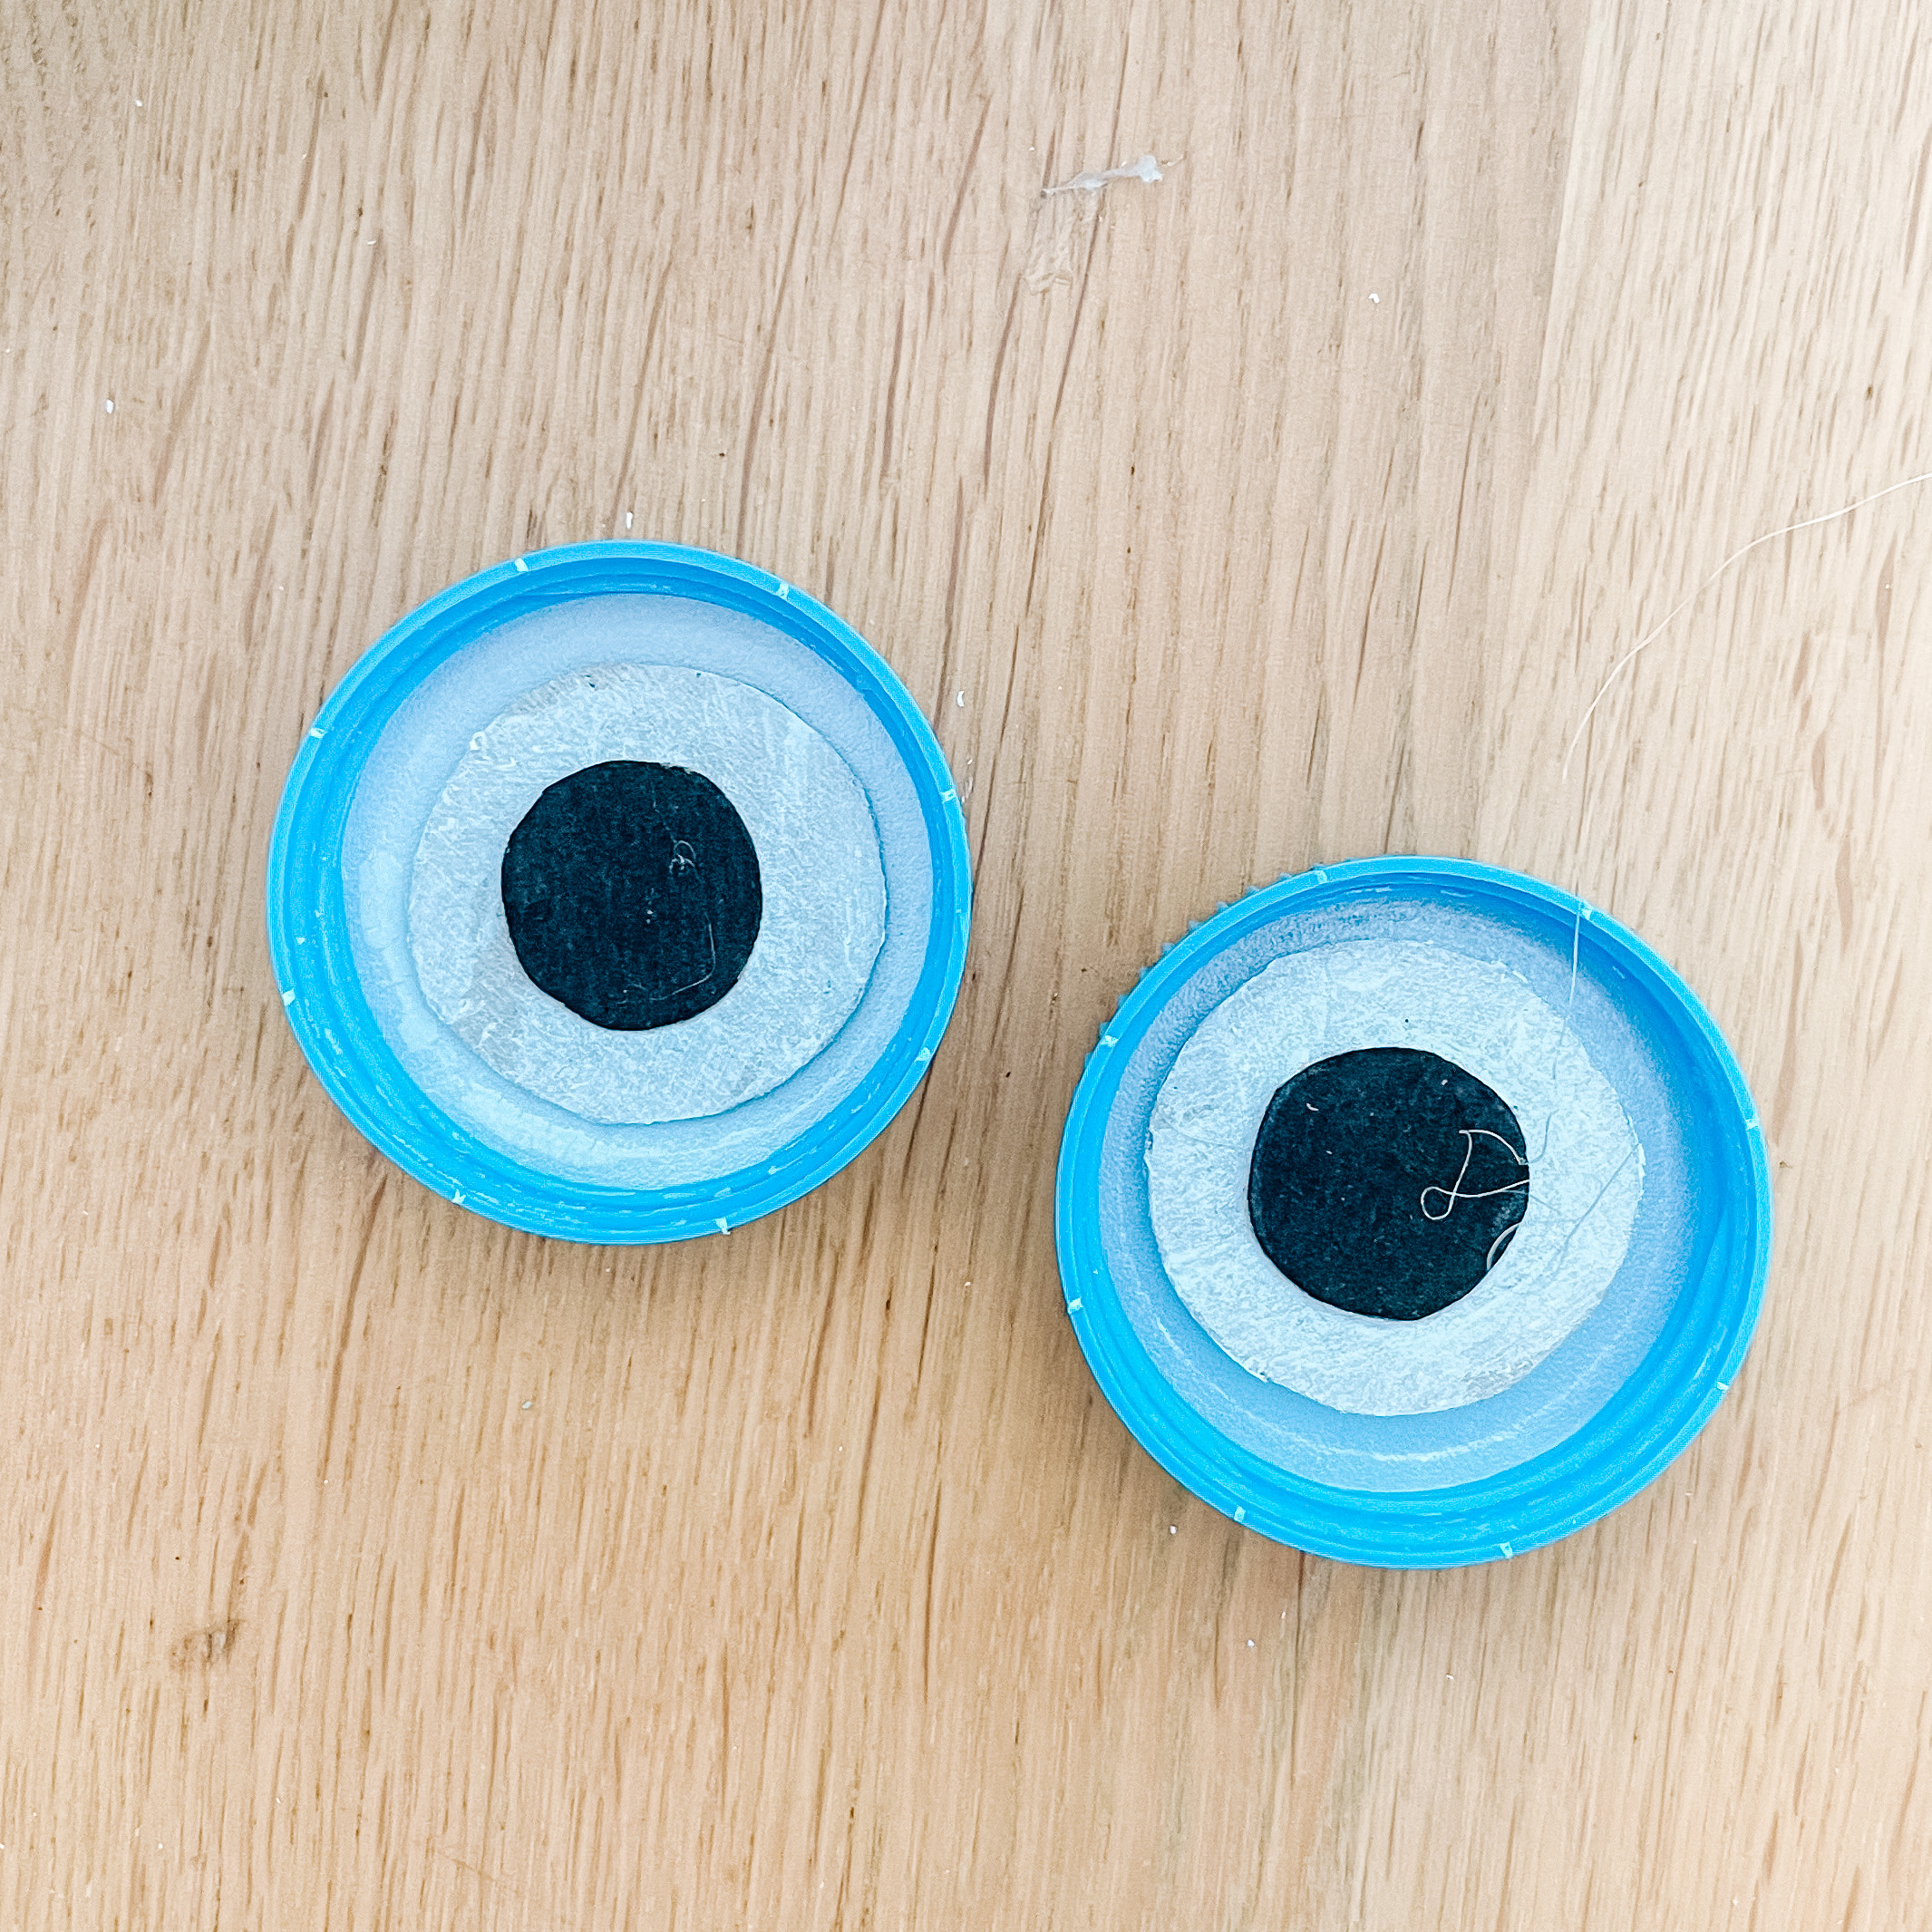
- Cut out the horns, nose, and eyes from cardboard pieces, and proceed to color them.
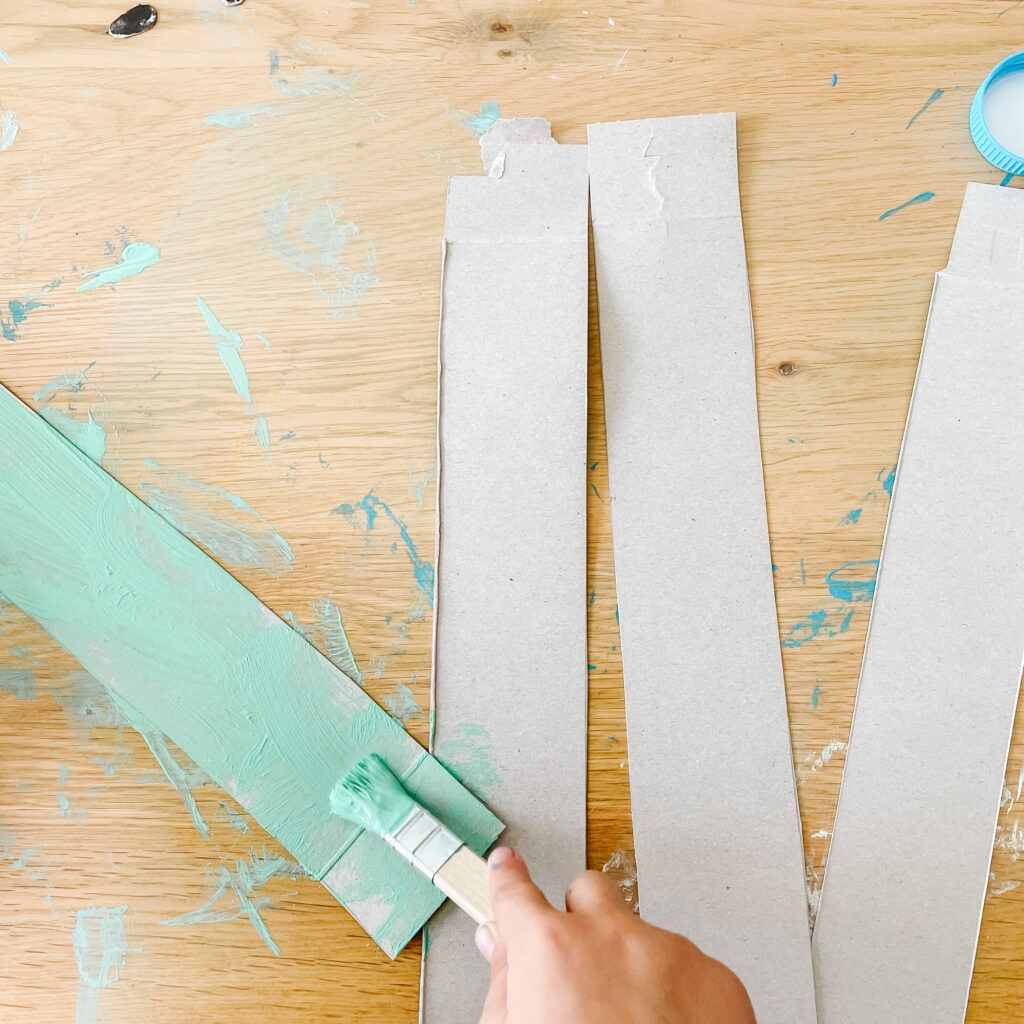
- Cut long strips of cardboard for the handles and paint them.
- Attach the square cardboard onto the first box.
- Attach the eyes onto the recycled milk caps.
- Attach the horns, nose and eyes onto the box.
- Secure the handles at the back of the box.
PIN ME FOR LATER


Leave a Comment