
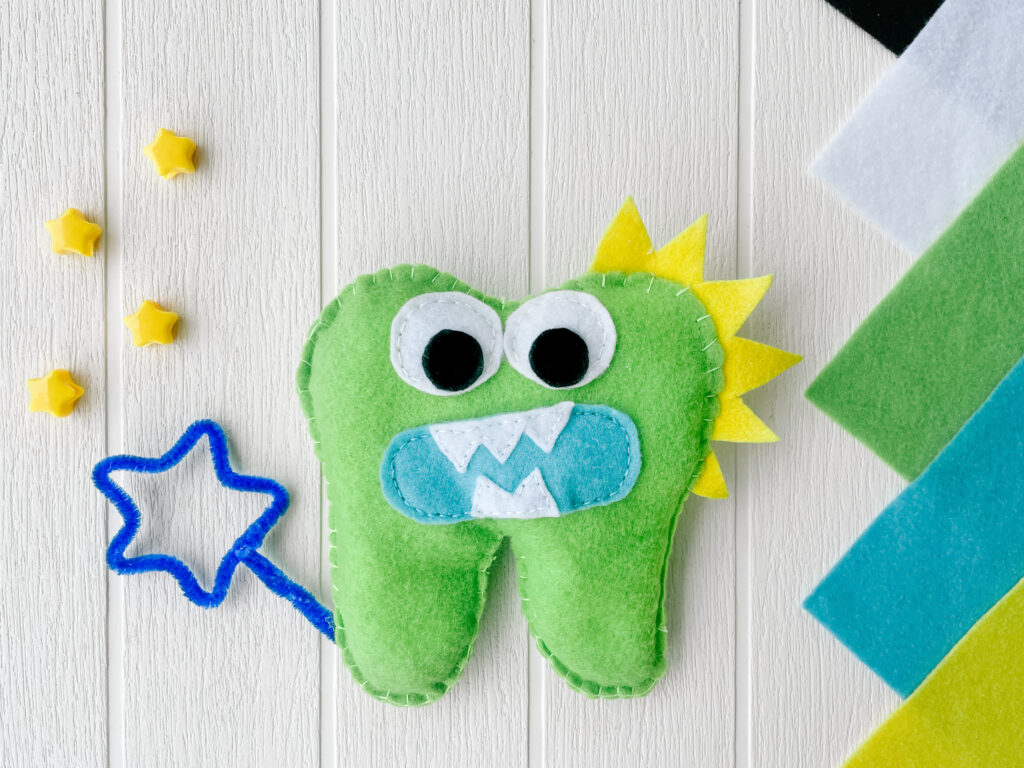
Easy to make felt dinosaur tooth fairy perfect for your dinosaur-obsessed kiddos.
Felt is a fantastic material for crafts. It’s cheap, easy to use, and won’t fray when you cut it. I often use it for making toys, crafts, and even costumes for my kids. Stitching it with a blanket stitch looks cleaner than using hot glue.
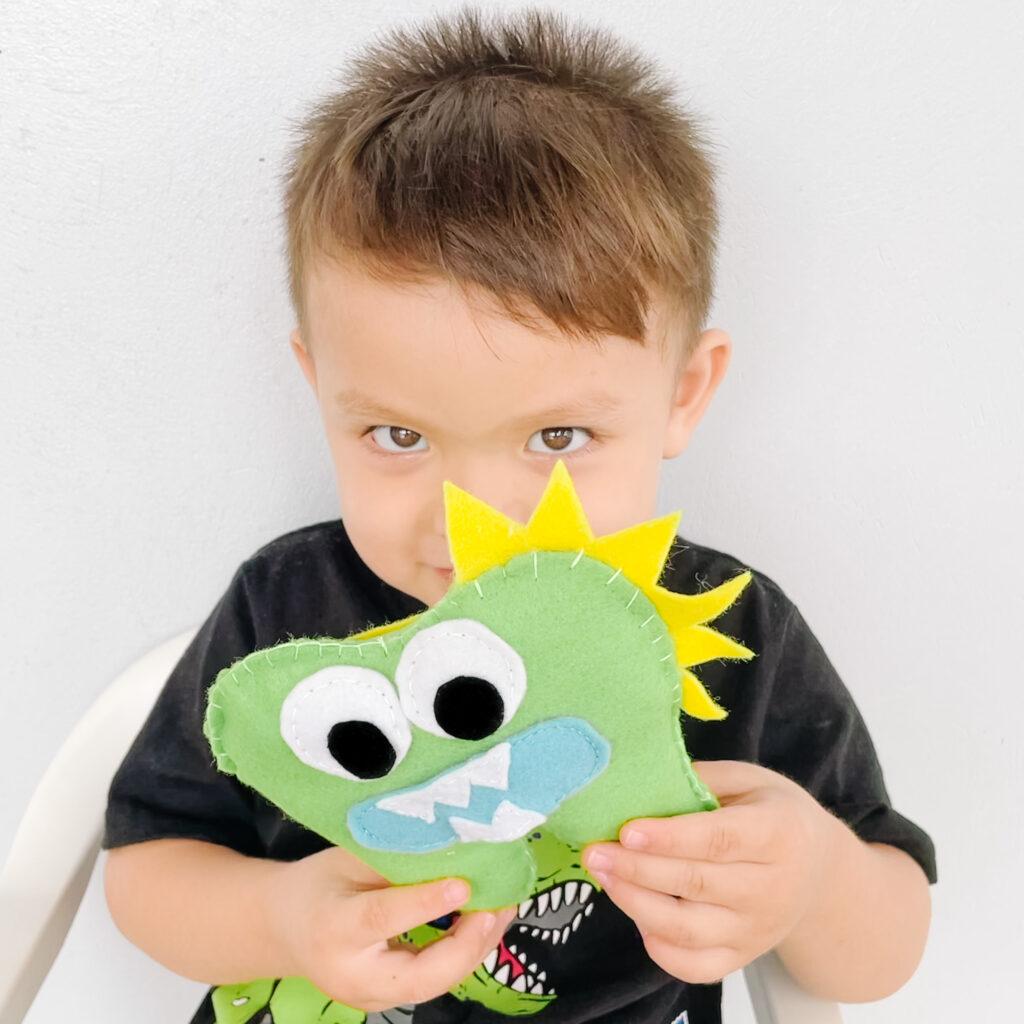
Crafting a dinosaur tooth fairy using felt is a creative and delightful way to celebrate Tooth Fairy Day. This simple project allows for imaginative play and adds a whimsical touch to the traditional tooth fairy experience. Plus, working with felt makes it easy to achieve a charming and kid-friendly design. Let your child’s imagination soar as they engage in this fun and enchanting DIY activity to commemorate the magic of losing a tooth.
Materials needed:
- Hard felt; green, blue, white, yellow and black
- Needle and thread that corresponds to the colors of the felt
- Cotton stuffing
- Glue gun and stick
- Scissors
- Cardboard
- Pencil
Instructions:
- Draw and cut out a tooth shape from the cardboard.
- Trace the cardboard tooth on the felt and cut.
- Cut out the individual felt pieces required to assemble the face of your dinosaur.
- Apply hot glue to attach the dinosaur plates onto the upper right side of the back green felt.
- Use stitches to secure the eyes, mouth, and teeth onto the front part of the front green felt.
- Stitch around the edge of the tooth, leaving a small gap for the stuffing.
- Insert the cotton stuffing and close the stitching.

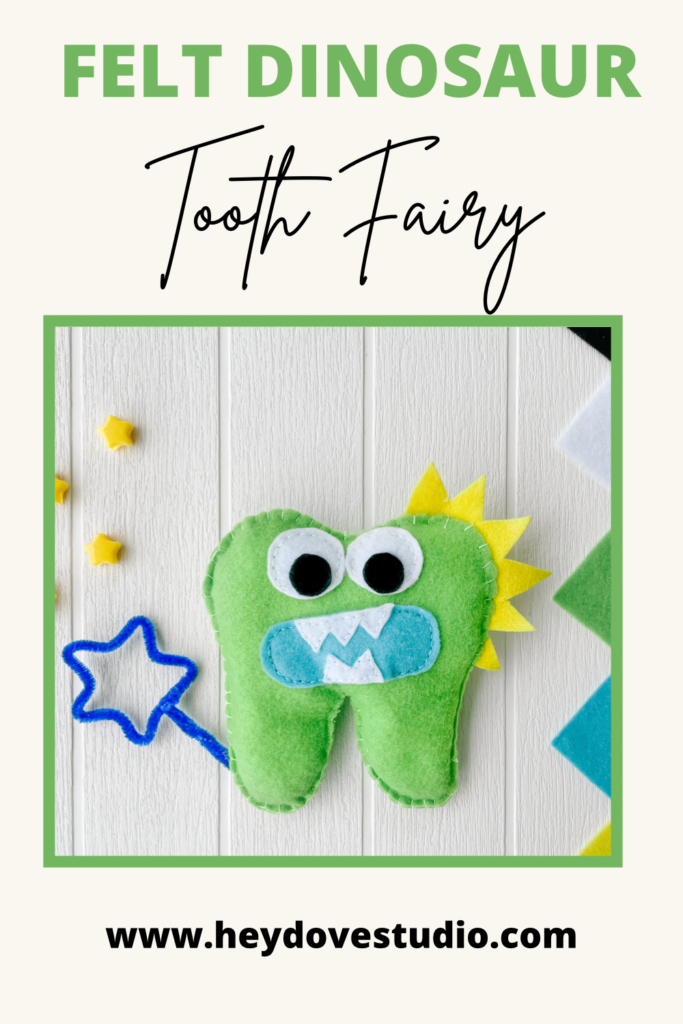
PIN ME FOR LATER


Leave a Comment